|
SAL5 - Don't Use Humpback Borders!
Diagonal seams on borders are elegant! And, I believe that they are stronger because forces are disbursed along the diagonal which involves many threads, instead of being focused on a few threads, as is the case with 90⁰ seams.
So, why am I bringing this technique up? It turns out that diagonal seams can have a substantial effect in creating full, or "lettuce leaf" borders.
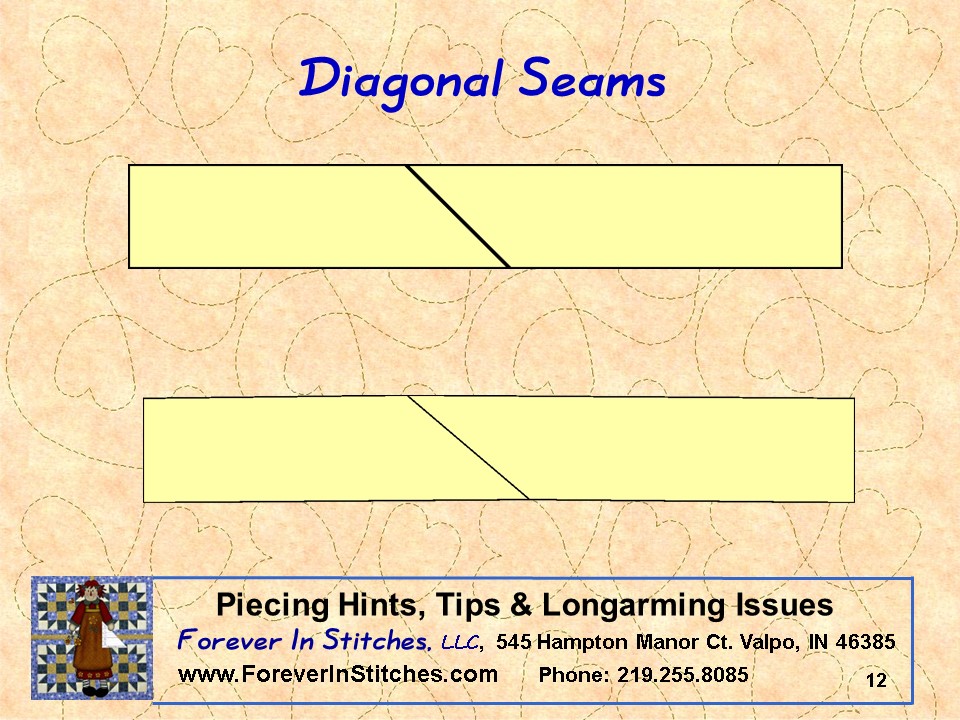
In the illustration, above, the top diagonal seam is straight and the seam angle is 45⁰. The bottom illustration shows a diagonal seam that is not 45⁰ and curves upward in the middle and downwards at the edges. The difference doesn't really show well, but it is more noticeable when long to be attached to a quilt.
This "hump" adds extra fabric to the border and doesn't allow the quilt and borders to lay flat over the entire run of the border. I find this interesting because it isn't very noticeable while you are making the border. The implication of that is that you can't just "slap the border on," but, you must take professional care in making and attaching the borders
The basic steps on creating or fixing a border with a diagonal seam are:
- Cut the border material straight, using long rulers, a rotary cutter, and a cutting mat. Make sure that you are cutting enough to either: allow for the squaring-up the ends; or, making mitered corners.
- Lay the two border strips overlapping a bit more that the amount of fabric needed for the 45⁰ angled cut , finished side up.
- Use a long ruler to assure that the strips are in alignment.
- Put a 45⁰ ruler on the overlapping sections, resting the triangle ruler on the long ruler to assure that the angle is 45⁰ to the border.
- Make the 45⁰ cut through both thicknesses of fabric at the same time.
- Pin the seams multiple times.
- Sew the seams with a quarter inch seam allowance.
- Press the seams in the appropriate direction(s) .
Now you'll have a straight border piece with a perfect 45⁰ diagonal seam that will not cause fullness in the borders.
|