Welcome to
Collectors Corner!
Ed Sandoval Gallery's Newsletter
102-B Paseo Del Pueblo Norte, Taos, NM 87571
edsandovalart@gmail.com
(575) 770-6360
|
|
How to Build a Traditional Kiva Fireplace
|
|
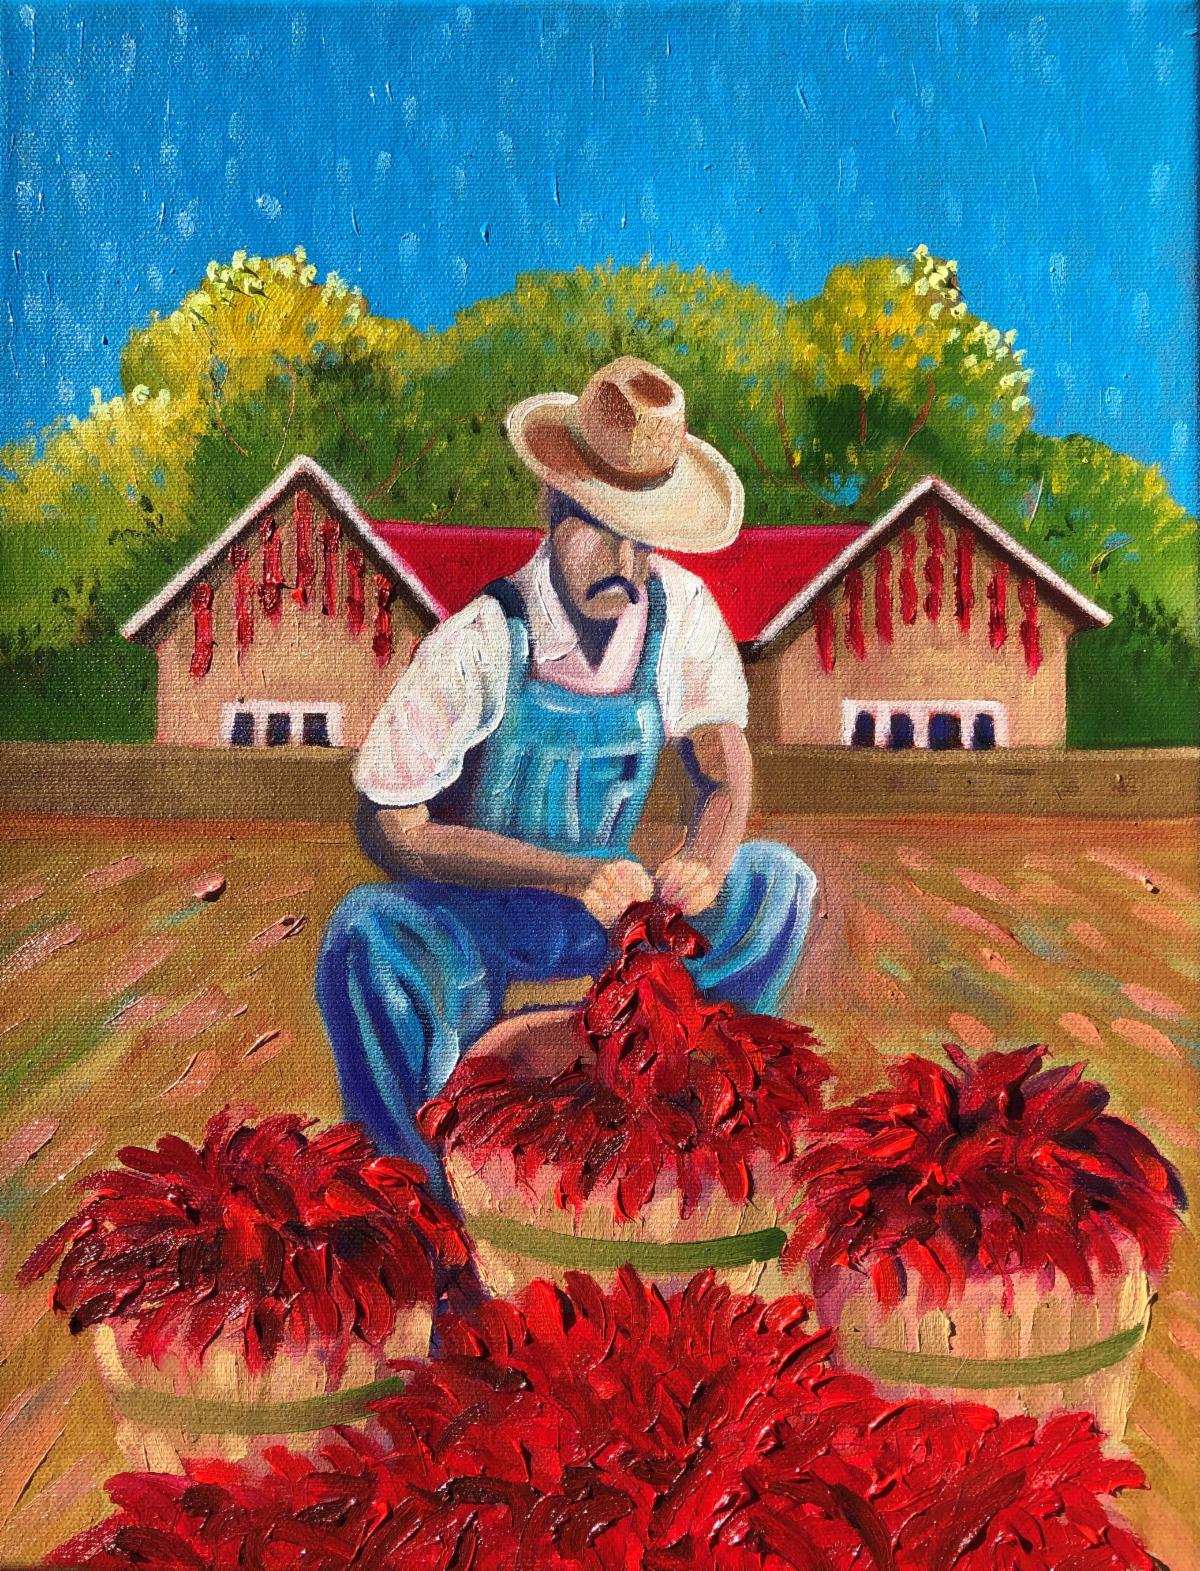
Last month, I showed you how to make my grandma's authentic chile caribe, which is a delicious staple in New Mexico cooking. This month, since I'm on a "Do It Yourself" kick,
I'm revealing the secret of another New Mexico treasure: the kiva fireplace!
I won't show every detail - won't be too technical - but I'll give you the "flavor" of building one.
You can't beat the physics of a rounded kiva - it radiates heat out like crazy! I have to pull back my chair! In my humble opinion, rounded kivas are far superior to square fireplaces.
|
|
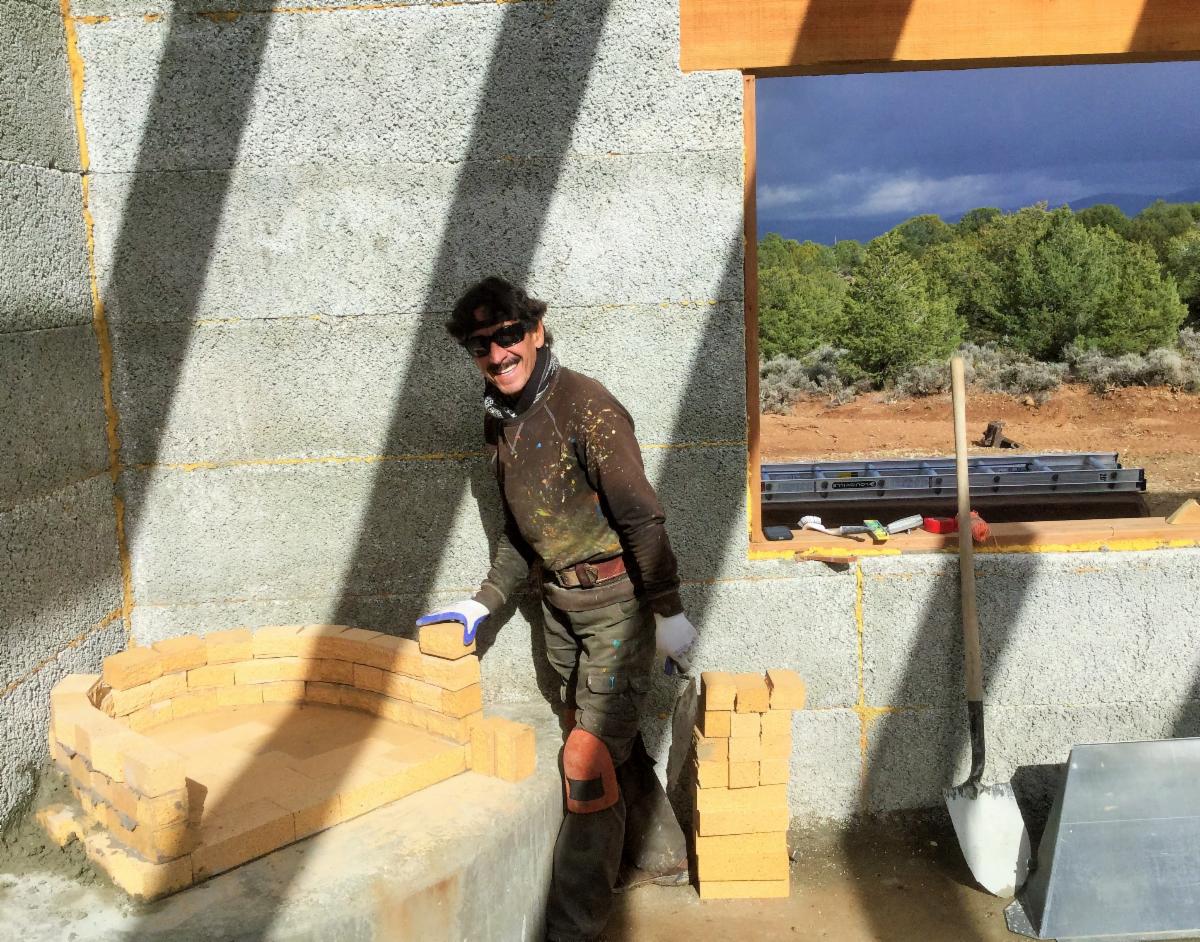
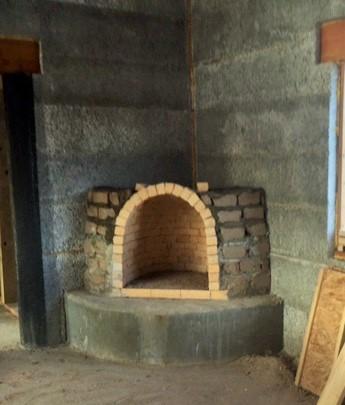
Create the Firebox Using Firebrick
For a kiva firebox, you MUST use firebrick that can withstand extreme heat (regular brick can't). To get the traditional round shape, I cut each brick into thirds. Score the bricks 1/4" on each side with a skill saw (mortar blade), and whack them with a flat chisel to break into thirds.
The smaller pieces will taper easily. I don’t use full-sized brick because it's too hard to create the roundness that I need. Layer at the bottom using sairset mortar that is fire retardant (not regular cement), and work your way up.
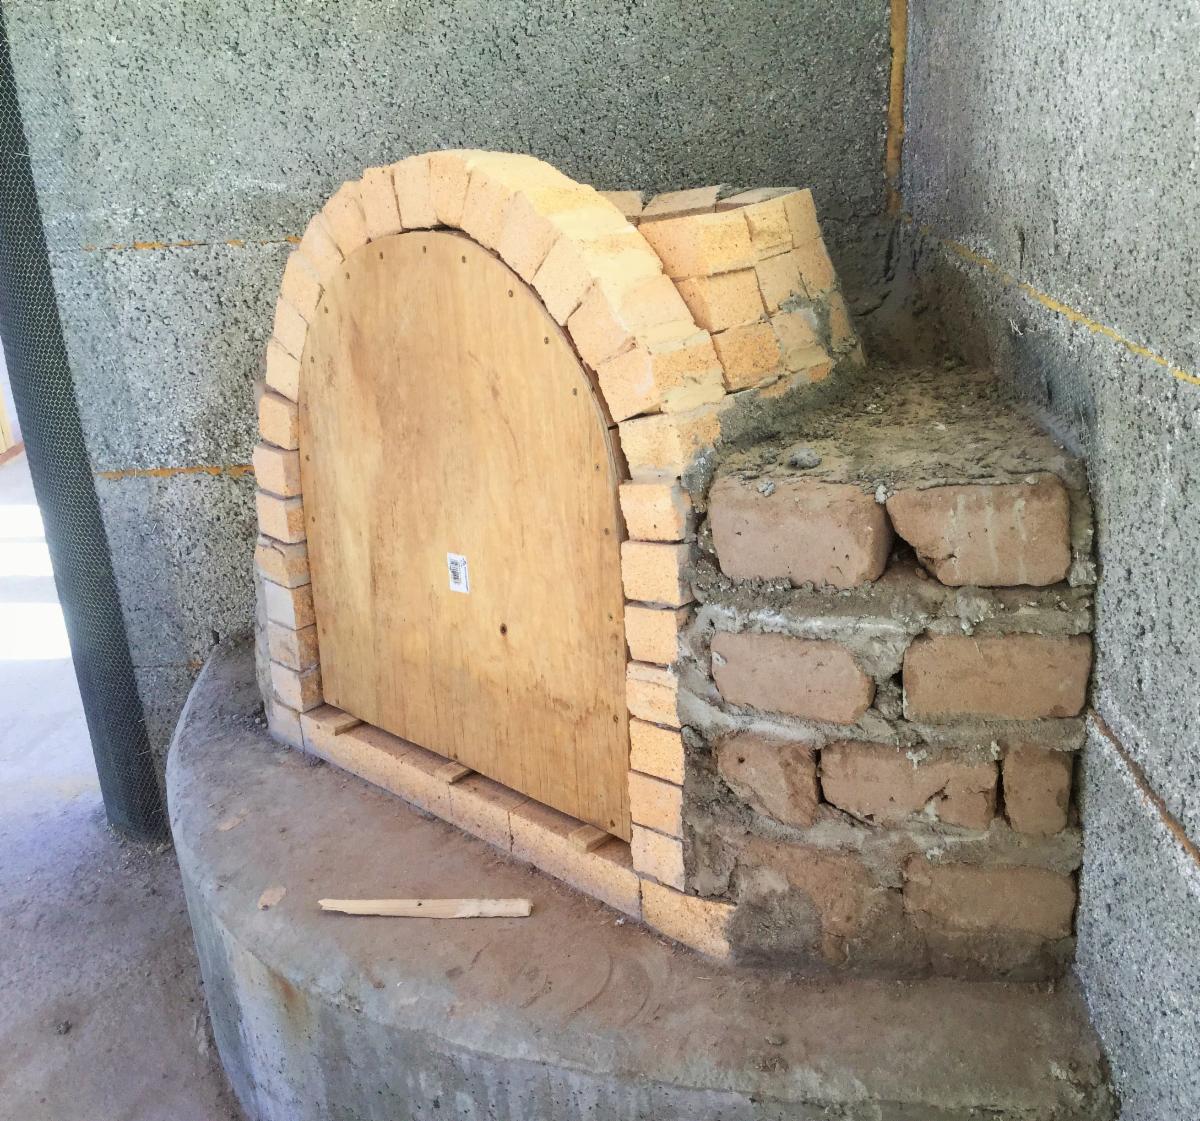
I make a plywood template to mold my firebrick thirds and create the arch opening. To make the template easier to remove, I put tiny wood wedges at the bottom. When everything is set, you can remove those wedges and wiggle out your template.
As you go back to achieve depth in your firebox, taper the firebrick thirds tightly to get that lovely round shape. At this stage, you also start laying your adobe bricks on either side (using regular cement for the adobe) to create the base.
|
|
|
|
|
Lay Adobe, Create Smoke Shelf & Insert Damper
Once everything in Step One is dry and set, lay more adobe around the firebox.
This must be done in STAGES, only a foot or so at a time.
If you build too high, the weight of the adobe and cement will smash the lower layers down. It won't stay level, so be patient and give your layers time to set/dry.
Once your firebox is totally surrounded by adobe, let it dry/set. The white fluff you see on top is insulation on the face of the metal damper. This will keep heat from coming up and cracking the final plastering on the front of the fireplace.
What you CAN'T see is the most important part of the kiva - the smoke shelf. Situated behind the damper, it should be a round, deep surface that goes way back. It should go back as deep as possible. Deep, deep, deep! Otherwise, smoke will return into your home instead of going up the chimney.
The smoke shelf if vital to "the draw" of your kiva. I've seen some really bad, bad, bad, shallow smoke shelves in my day. Guess what - those kivas always have smoke getting into the home and have smoke stains coming up onto the plaster.
Outdoor kivas will always have a little smoke coming up onto the plaster due to shifting winds, but indoor kivas should NOT.
|
|
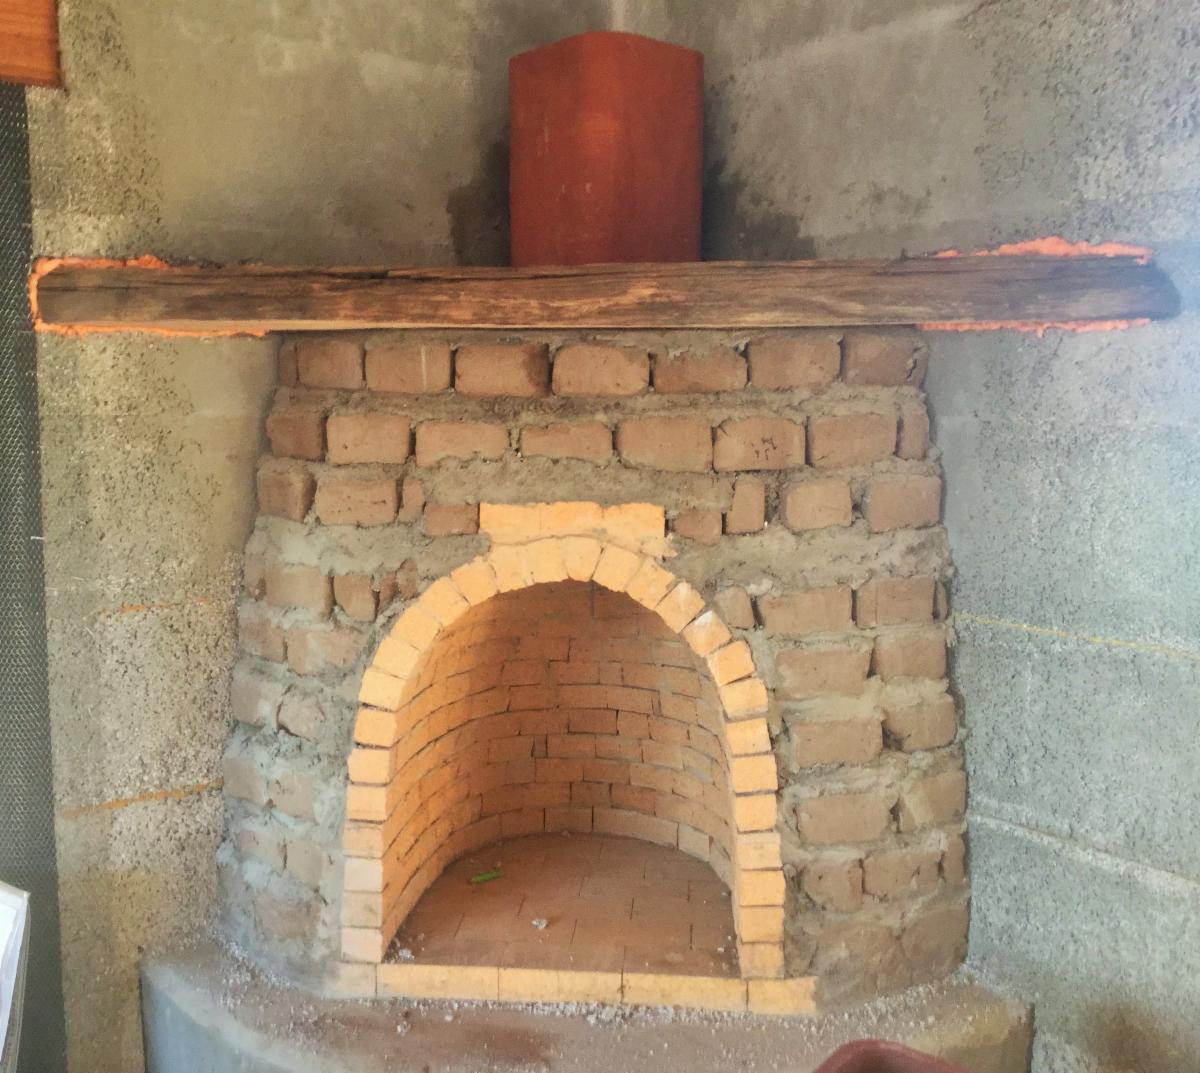
Add Flue Liners and Mantelpiece
Your adobe bricks are level, you’ve inserted your damper and fashioned a nice, deep rounded smoke shelf. The next step is installing the flue liners. They are ceramic, always square, and fit into the corner. These sit on top of one another, sealed together with sairset (fireproof) mortar, and go all the way up to and through the roof.
If you want a wood mantel, this is the stage where you put it in. The wood has to be carved into both sides of the corner (and affixed). That way the walls will support the weight.
|
|
|
|
|
Continue Flue Liners & Shape the Kiva
Continue up with the flue liners while also surrounding them with adobe bricks. As you get up high, I suggest that you have a friend hand you shovels of cement so you don’t have to go up and down the ladder every time you place a brick. Remember you are creating roundness and forming the "look" of your kiva, so take your time.
|
|
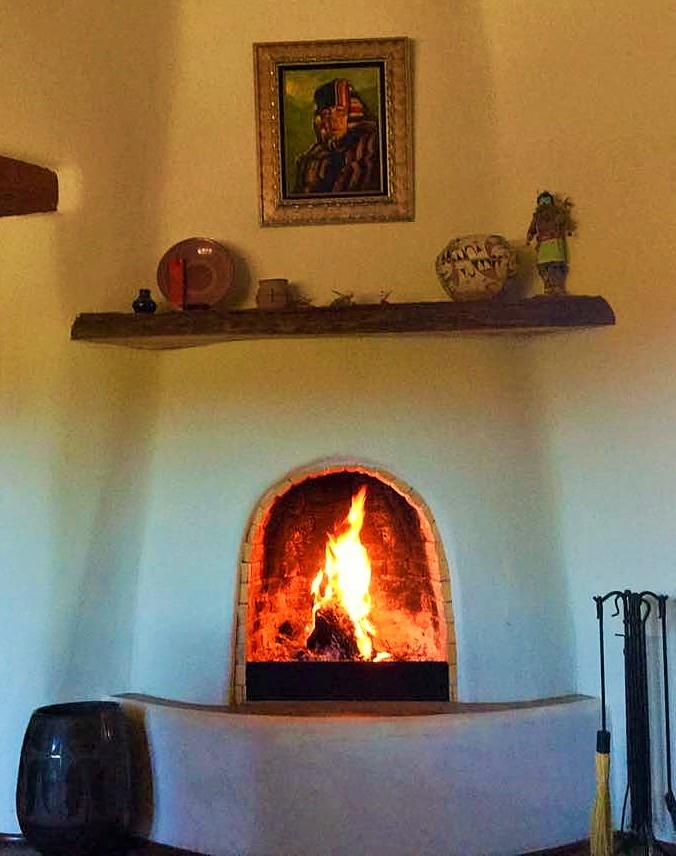
Once you’re through the roof, your kiva is ready to be plastered. I bring in a team for this part. Usually they put a mesh wire over the adobe bricks so the plaster can adhere better.
Once it's plastered and painted, sit back and enjoy! There is little in this world that is more beautiful and comforting than a roaring fire in a kiva on a cold night.
|
|
I left a small "lip" of firebrick so the screen can fit in snugly against the brick, which protects the plaster finish.
|
|
|
Quick! Run and Hide in the Torreon!
|
Imagine being a Spanish settler in New Mexico during the 17
th
– 19
th
centuries. You might be gardening or feeding your livestock, when all of a sudden you hear the sounds of thundering horse hooves and whooping. Indians on horseback come charging over the horizon toward you.
You better get your family and retreat into the torreon!
|
|
"
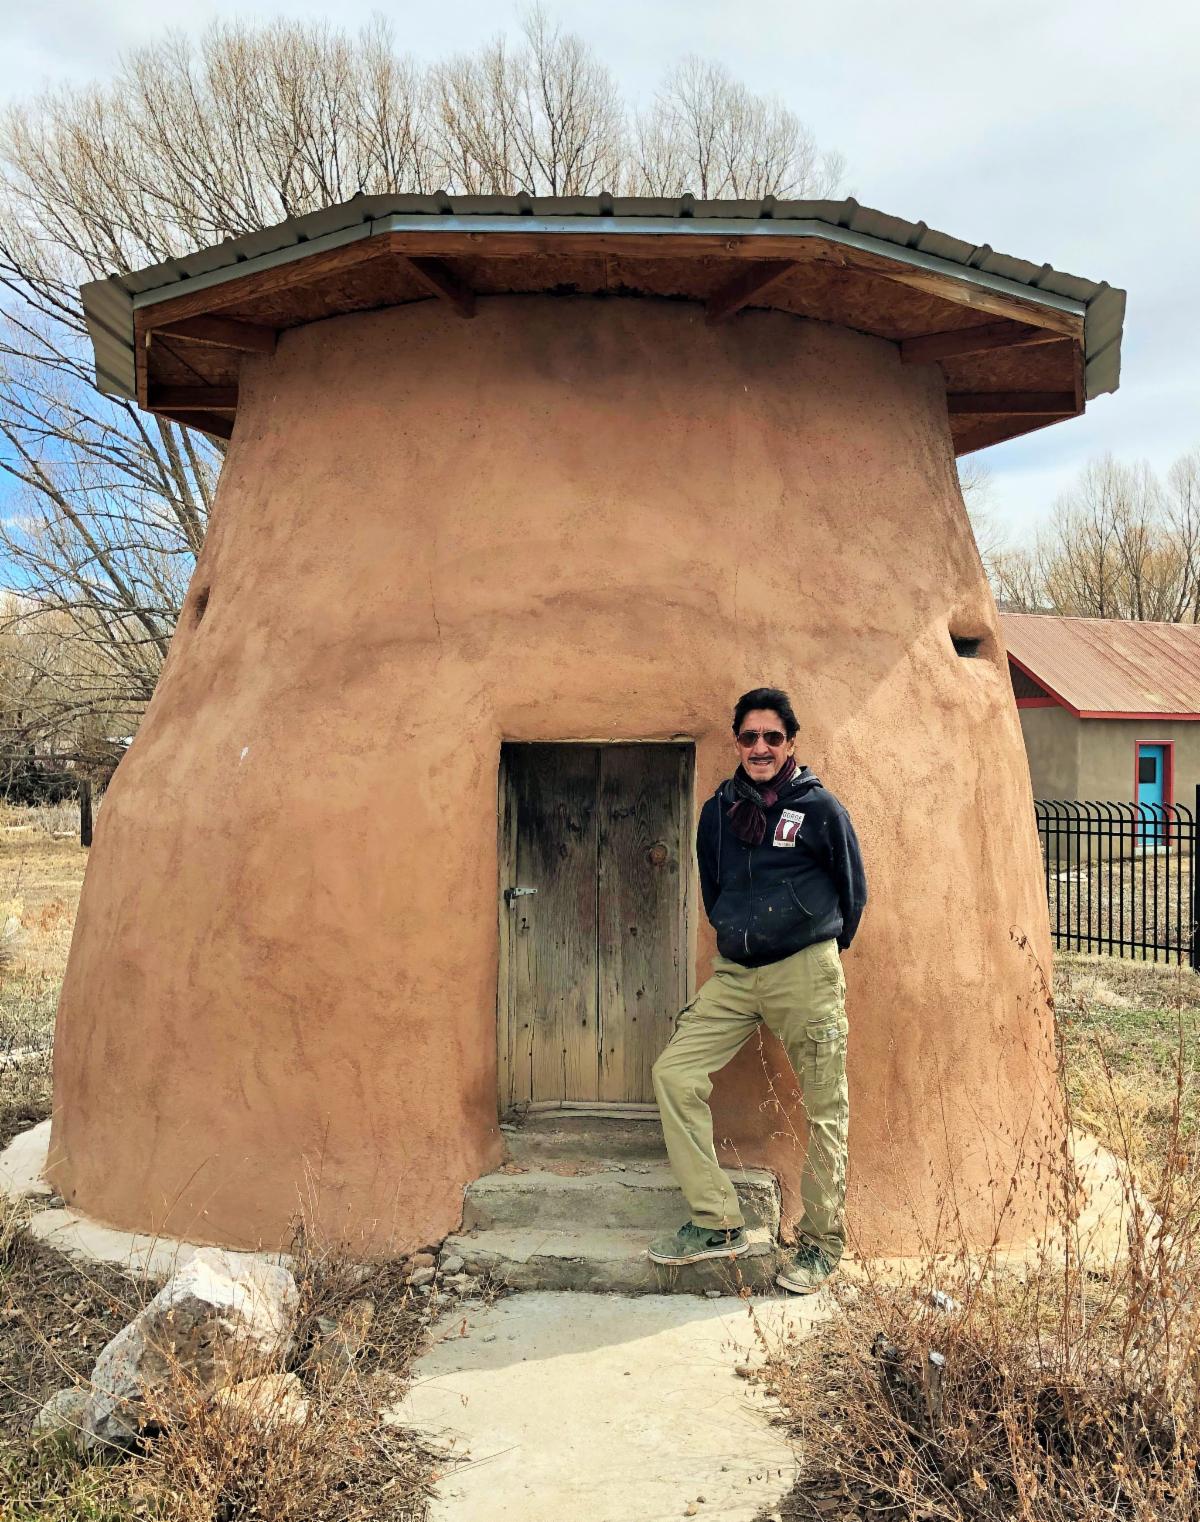
At El Torreon Historic Hacienda in El Prado, NM"
Photo by Geraint Smith
|
|
Around Taos and other New Mexico villages, you can spot these round (sometimes square) towers where the
settlers would hide and mount a defense during
Indian raids
.
These fortified towers made of rock or adobe provided protection, with tiny peepholes to point out gun barrels and shoot the hostile raiders.
Many had two levels. The lower level sheltered skittish livestock when the alarm was sounded. The upper level, stocked with provisions, was an observation point to better see (and shoot at) the dangerous marauders, and it also housed the women, children and neighbors who had time to get there.
But torreons could be a dangerous prison too. One account says, “Nomadic Indians soon learned to hold the Spanish prisoners by staying out of gun range while others of their party drove off whatever human captives and livestock they could find in the neighborhood, seizing corn and other loot and making their escape. At best a torreon might save the lives of its occupants, but more often this method of defense turned out to be the funeral pyre of those who had taken refuge in it."
(Source)
|
|
When I heard about torreons, they captured my imagination. What a scary thought! Hiding behind walls while being besieged! In 1999, I went to the torreon located behind the old El Meze (later Salt+Wine) restaurant and painted the scene in my mind’s eye. I hear there is a wonderful torreon in Lincoln, NM, and I need to get down there and see it.
|
|
My 1999 Painting: "El Torreon de Taos" - The Family is Running to Safety, Fearing an Indian Raid
|
|
Same El Prado Torreon as in Geraint Smith's Photo, but Today it has been Plastered and a Roof Added
|
|
Featured Miniature Paintings
If you follow my
Facebook Page
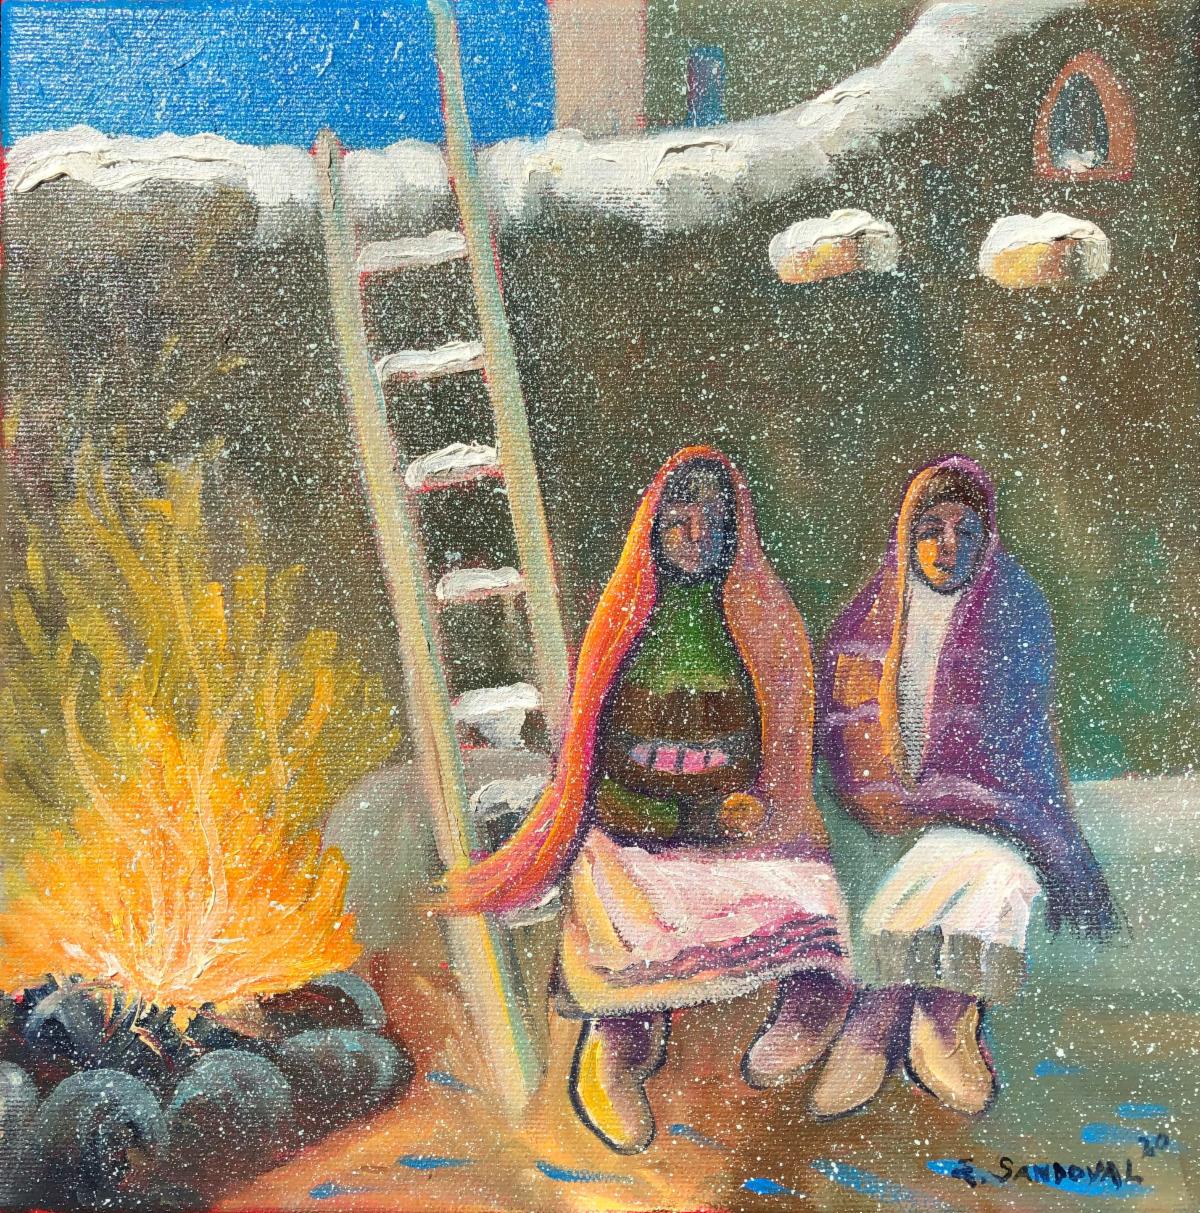
, you know I'm dedicating 2020 to smaller paintings, and you may have seen these featured paintings. I'm thoroughly enjoying myself, and I'm even going to have a miniature show in early fall. Here are six of my babies. :-)
To inquire or request a high-resolution photo, contact
575-770-6360
or
edsandovalart@gmail.com
. For all available paintings, click
HERE
.
|
|
"Snowfall at Taos Pueblo (10" x 10")
|
|
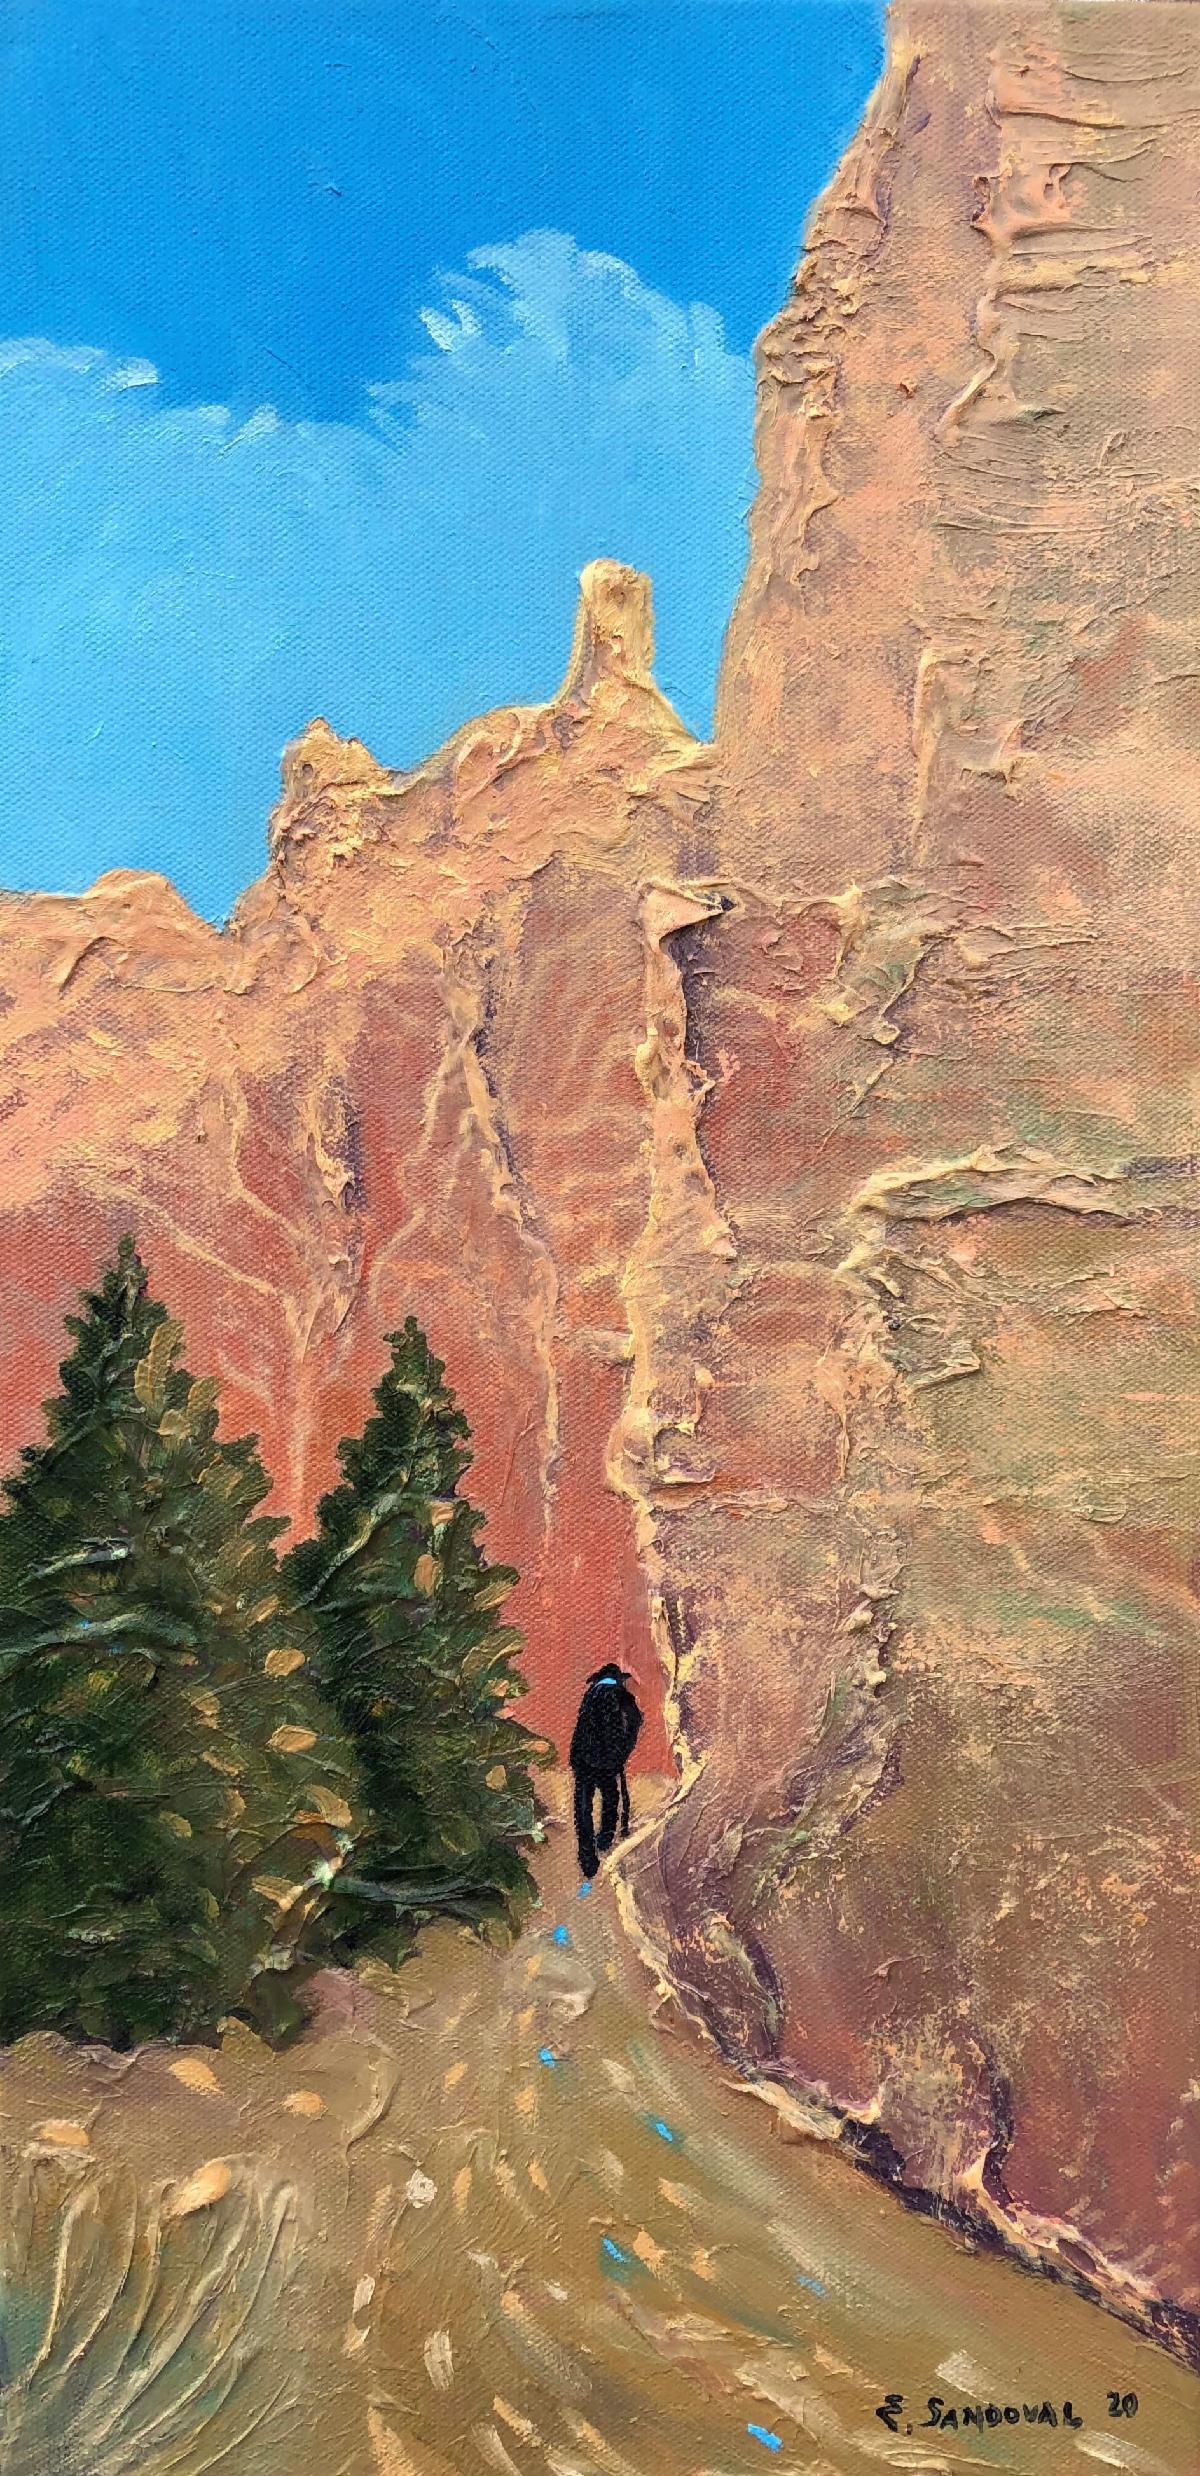
"Pathway of Adventure" (10" x 20")
|
|
Hillside Casitas (10" x 10")
|
|
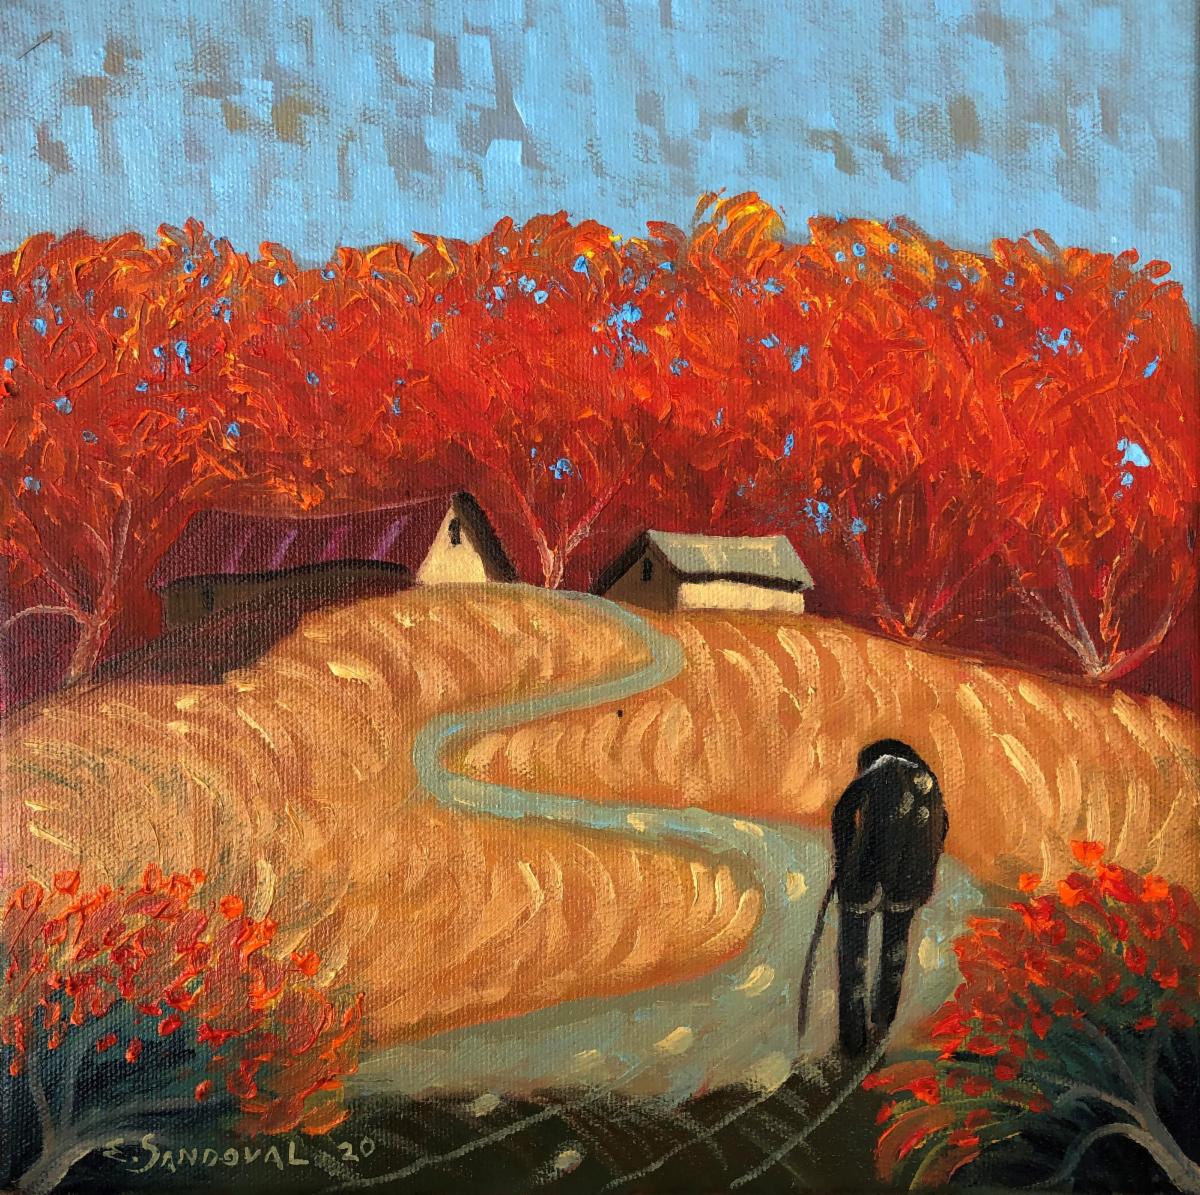
"Couse Chapel in Spring"
(11" x 14")
|
|
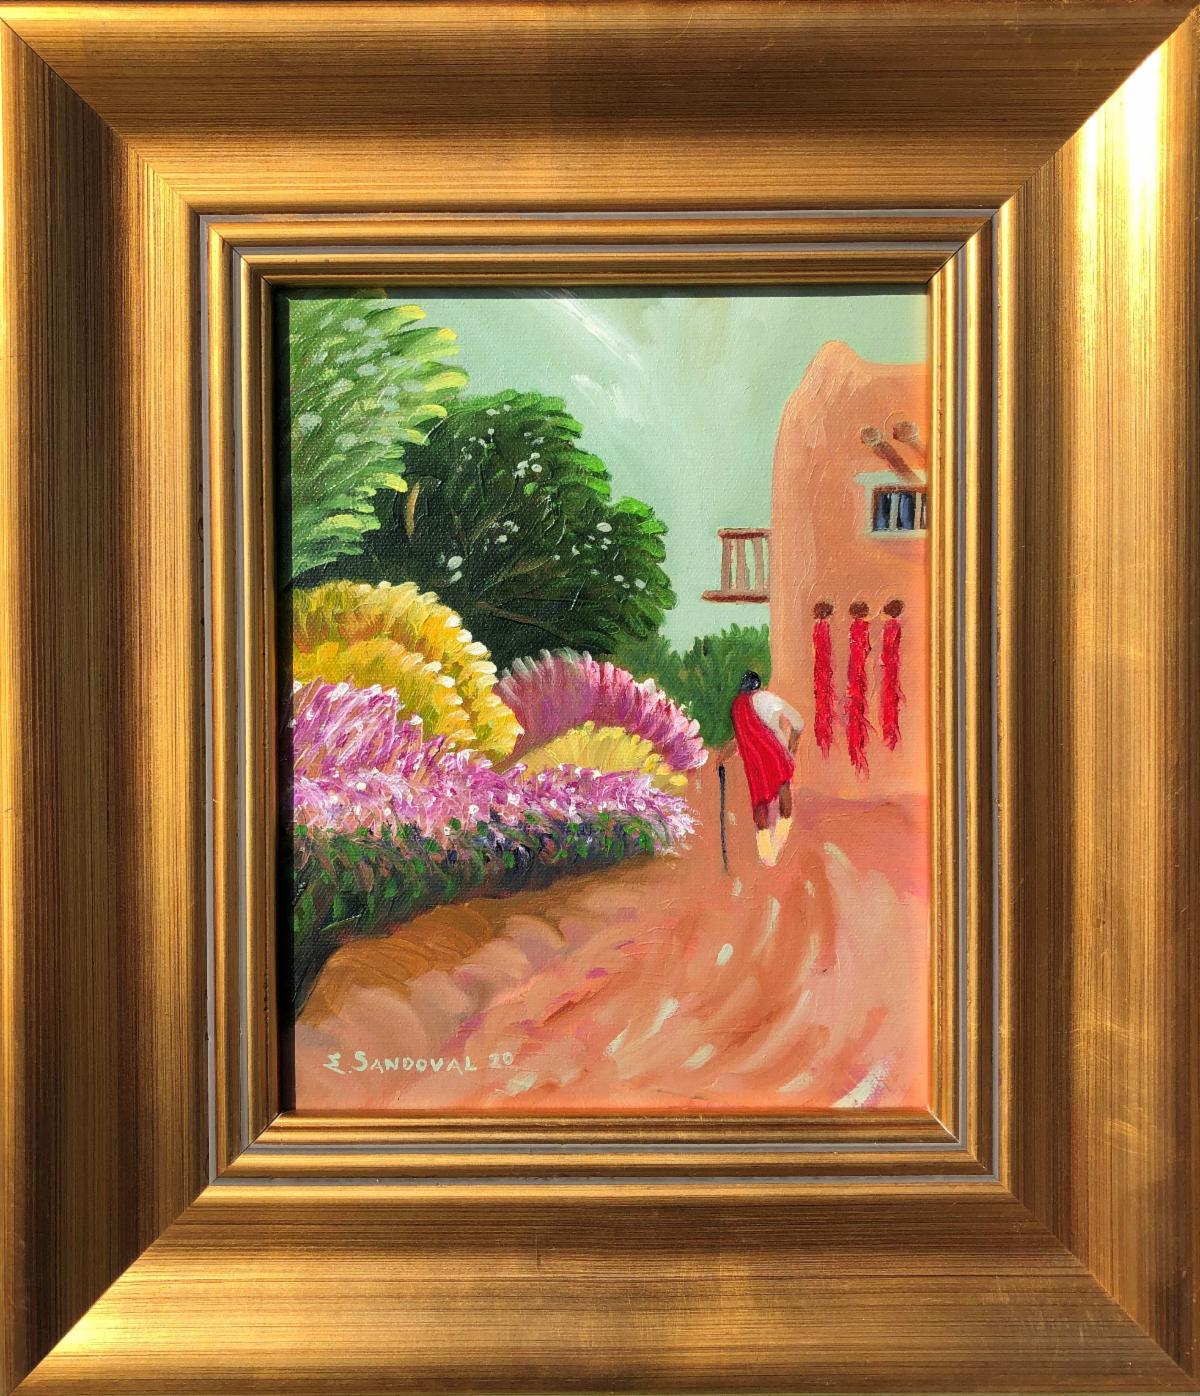
"Ristra Walkway" (8" x 10")
|
|
"Rancho de Chimayo"
(11" x 14")
|
|
Did You See The Taos Mountain Skull?
|
|
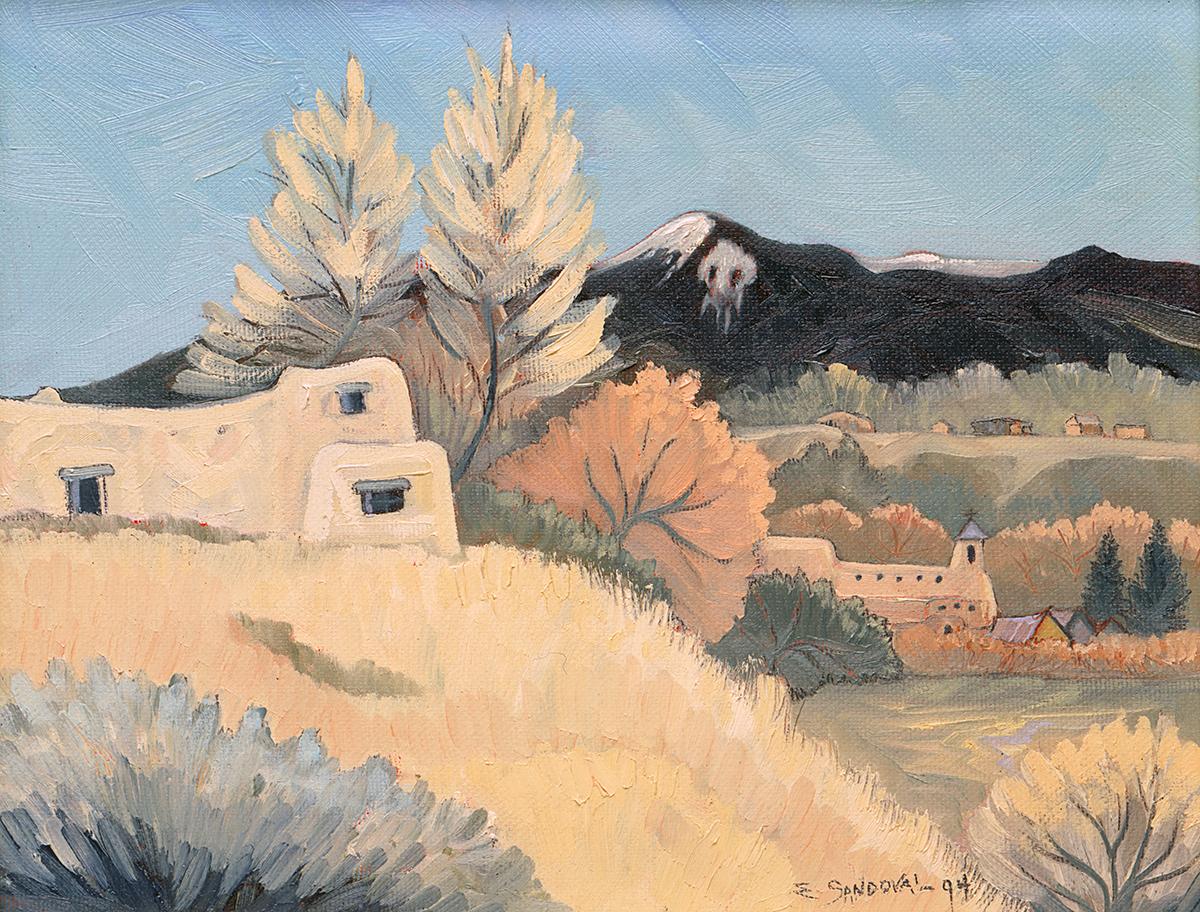
Taos Mountain: Skull on the Right Peak
|
A Very Early Painting of Mine that I Call "Spirit of Berninghaus" (1994) - See the Skull?
|
|
Question: In my Torreon painting, did you see the skull?
You may need to scroll back up and check it out. You might have missed it. LOL. It's on Taos Mountain. It's always there! When it snows, you can see it more clearly, but whatever season, it's always there. Always. Watching. Protecting.
The Taos Pueblo Indians say that if you don't see it, then you are not meant / destined to stay in Taos. To them, it is sacred, and you better see it or you can't stay in Taos for long.
Interesting story. Once I did a painting for collectors from California. The Taos skull was on the mountain, as it should be. They LOVED the painting and took it home. Weeks later, they called me. They said, "There's a weird skull on the mountain!" I said, "Yes? Of course there is." Long story short, they shipped the painting back for me to remove it. They thought it was creepy.
The Taos Pueblo Indians are right. You must see it and appreciate it, or you're just not meant to be here. The California people...well...they just didn't get it. I took the skull out for them and shipped the painting back. Did it rip my heart out? Oh you betcha. But sometimes you just can't argue with people. But I know YOU see the skull, and Taos loves you.
|
|
Would you like to be a featured collector?
If so, please send your personal story and photo(s) to edsandovalart@gmail.com.
|
|
Contact
Ed Sandoval Gallery
102-B Paseo Del Pueblo, Taos, NM 87571
www.edsandovalgallery.com | (575) 770-6360 | edsandovalart@gmail.com
|
|
|
|
|
|
|