Phone: (416) 524-9177 
 

May's Newsletter 
What a wild month, it's hard to believe it's come to an end. It feels like the 1st was just yesterday, but I guess that happens when you've had the busiest May in My Go-2-Guy history. This month has been so busy this newsletter is going to consist of our before and after favourites from the month. 
Tip of the Month: Decluttering and Organizing.

From foyer to furnace room, fighting clutter and staying organized is one of the biggest struggles in almost every home around this great country. Whether it be because of sentimentality, kids returning from university, or just because we like stuff. Whatever the reasons, over the next few months, we are going to talk about clutter and how to make it disappear. 

Below is the most recent of the before-and-afters. As you can see the old wall was built with 4x4's, it was leaning and way past its prime. We removed the old wall, and dug out down below the side walk. We then filled the bottom of the trough with gravel to create a level base as well as for drainage. The bottom course of the retaining wall was next, we laid it out and secured it by driving 48" rebar into the ground. We secured the fallowing courses with 12" spikes. To finish this project off we mixed in top soil with some of the dirt we removed, levelled the ground to the new retaining wall and laid some grass seed down. 
This next set of before-and-afters was from one of our more taxing jobs because it felt like we climbed the CN tower at the end of the day, but we really think it turned out well. The old facade of this cantilevered cupola was rotting away. We stripped it back to the structure, reinforced it and squared it up. We then added a slight slope to the roof, and refaced it with 1"x 12"s. To finish it off we added tung and groove cedar to the bottom. 
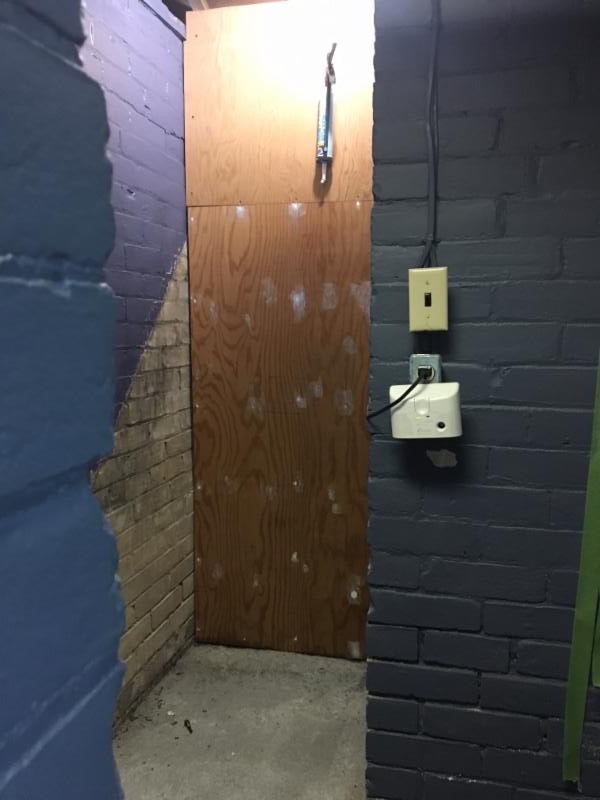
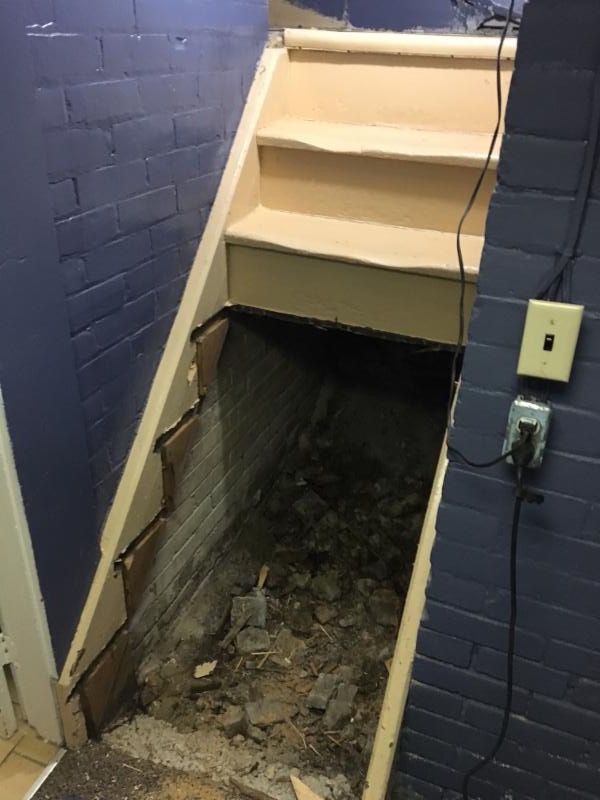
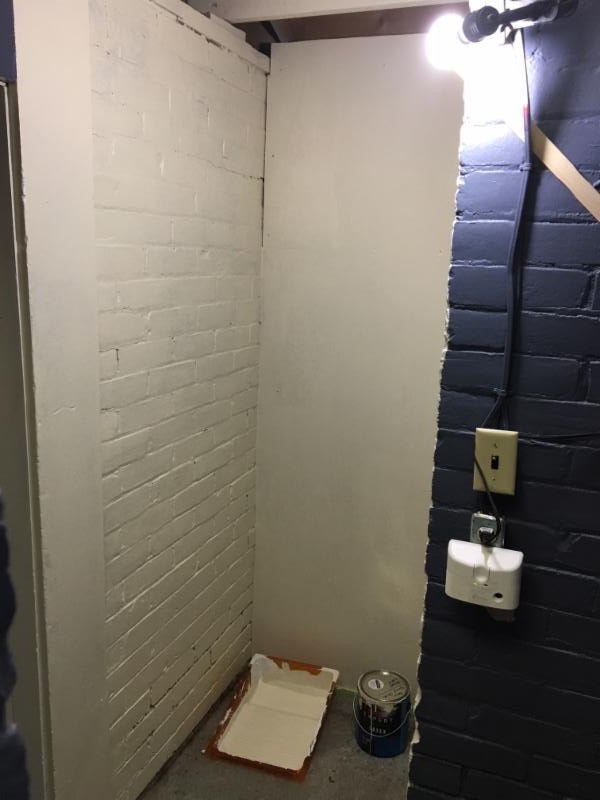
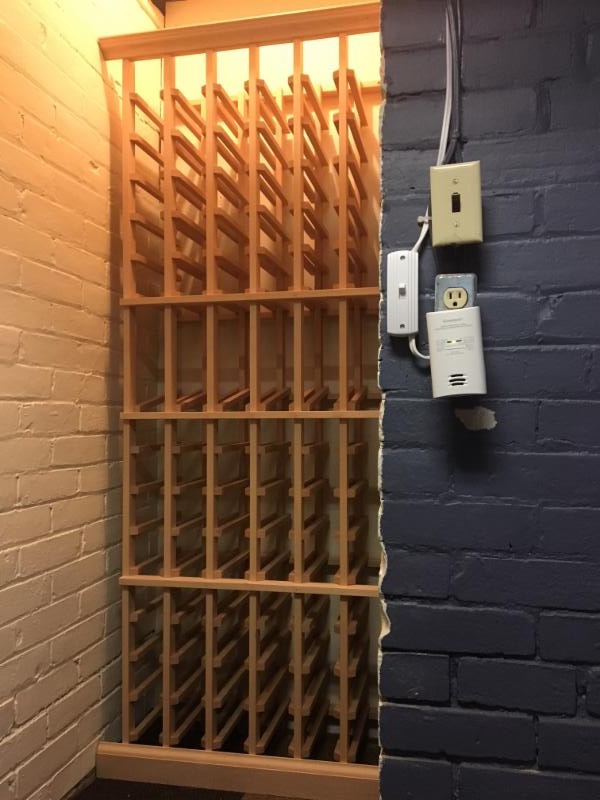
This set of before-and-afters, was completed over the course of April and May.  As you can see in our before, we demoed the stairs (we got a little hammer happy and realized we didn't get a before picture) and I know what you're thinking- but don't worry, these stairs didn't lead anywhere due to previous renovations. After the demolition we framed up the wall leaving the top open removable to get to some plumbing if need be. We then laid a level concrete pad, and caulked the plywood to the brick. after that, we painted the walls Navajo White and assemble the hardwood wine rack to transform this space from useless stair to wine storage extraordinaire. 
SERVICES  |  TESTIMONIALS  |  RATES & PAYMENTS  |  GALLERY  |  CONTACT 
STAY CONNECTED: