Stepping Stone School
Supporting Families & Learning at Home
June 26th
|
|
At
Stepping Stone School, our mission is to offer exceptional nurturing and education for our students, and extraordinary support and care for all parents and families!
Many families are finding new and creative ways to engage and educate their children while at home. We compiled a list of fun and educational activities and resources for you to use with your family.
WE ARE HERE TO SUPPORT YOU!
|
|
Community & Cultural Awareness
|
There are many ways you can express and show kindness with children, here are some ideas:
- Donate food to a food bank.
- Make a teacher appreciation gift.
- Bake a yummy treat for grandparents.
- Draw or color a picture to give to someone.
- Help a teacher organize the classroom.
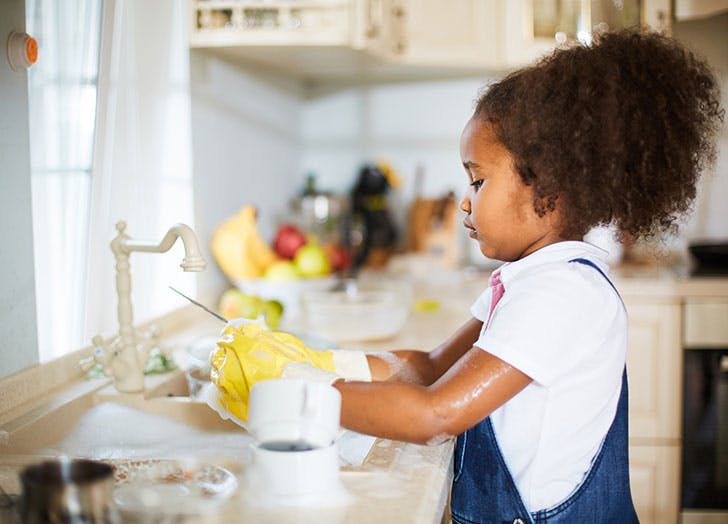
- Help Mom or Dad with dishes.
- Sweep the house without being asked to.
- Help your sibling learn something new.
- Listen to someone tell you about their day.
- Read a book to someone.
- Make a treat for the school bus driver.
- Write a poem for your parents.
- Help a friend with homework.
- Write notes of appreciation for every family member.
- Clean your bedroom without being asked.
- Offer your time to someone less fortunate.
- Make a bird feeder to feed the birds.
- Have a popcorn and movie night with the family.
- Sing a song to a random stranger.
- Smile to everyone you pass.
- Create a gift basket for someone who’s sick at the hospital.
- Make treats for your pet.
- Put change in the vending machine.
- Leave kindness stones in the local park.
- Give a friend or family member a hug coupon.
- Leave bubbles on someone’s doorstep.
- Donate pajamas to foster kids.
- Donate a toy to Toys for Tots
- Leave a nice letter in your library book.
When you practice each of these
random acts of kindness ideas
, you are teaching your children that kindness truly conquers all. Kids are our next generation of adults, so why not practice some of these
random acts of kindness for kids
with your children to help inspire them to be compassionate adults.
|
Check out this virtual field trip using electric vehicles on a Coast to Coast Road Trip!
|
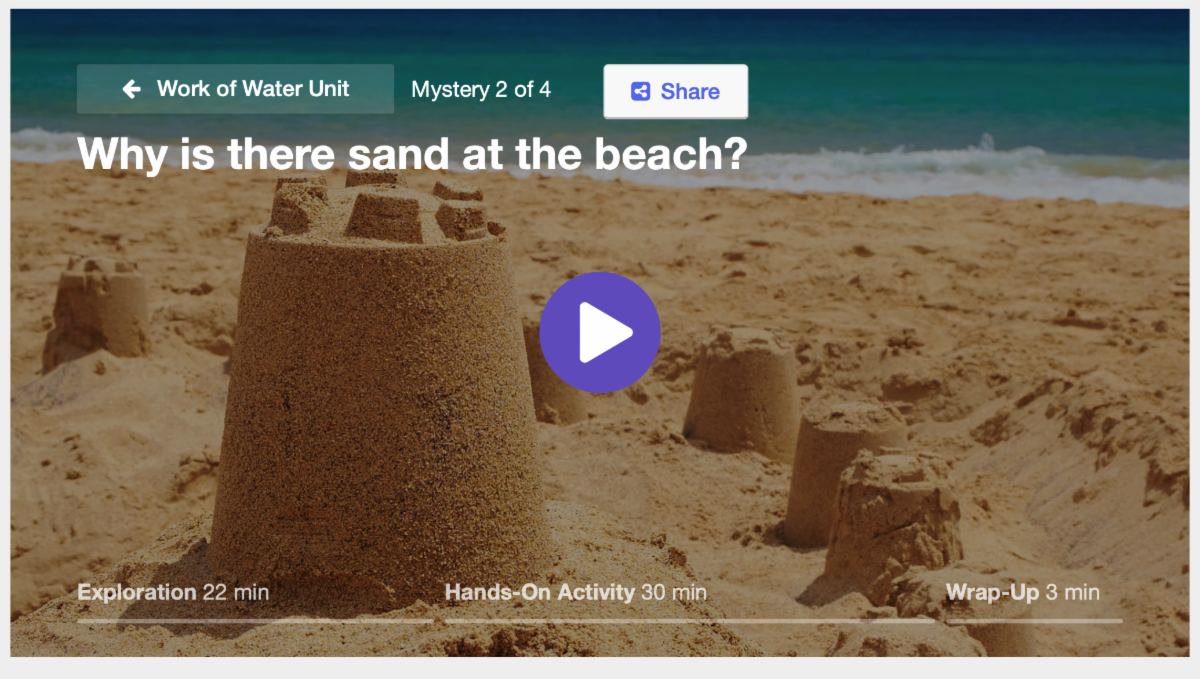
In this Mystery, students investigate the effects of rocks tumbling in a river. Based on their observations, they construct an explanation for why there is sand at a beach. In the activity, Rocking the River, students pretend to be a river and tear up pieces of construction paper to model what happens to rocks as they travel along the river.
|
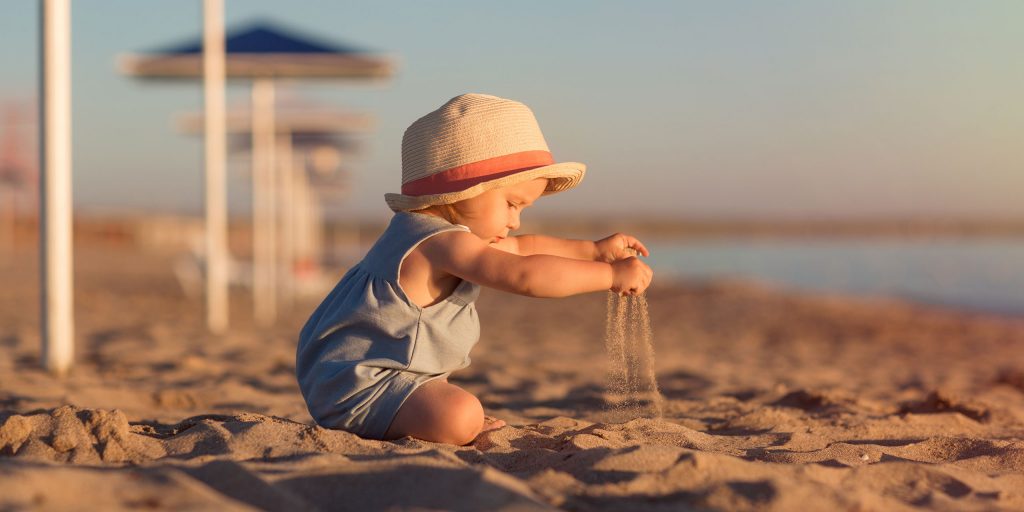
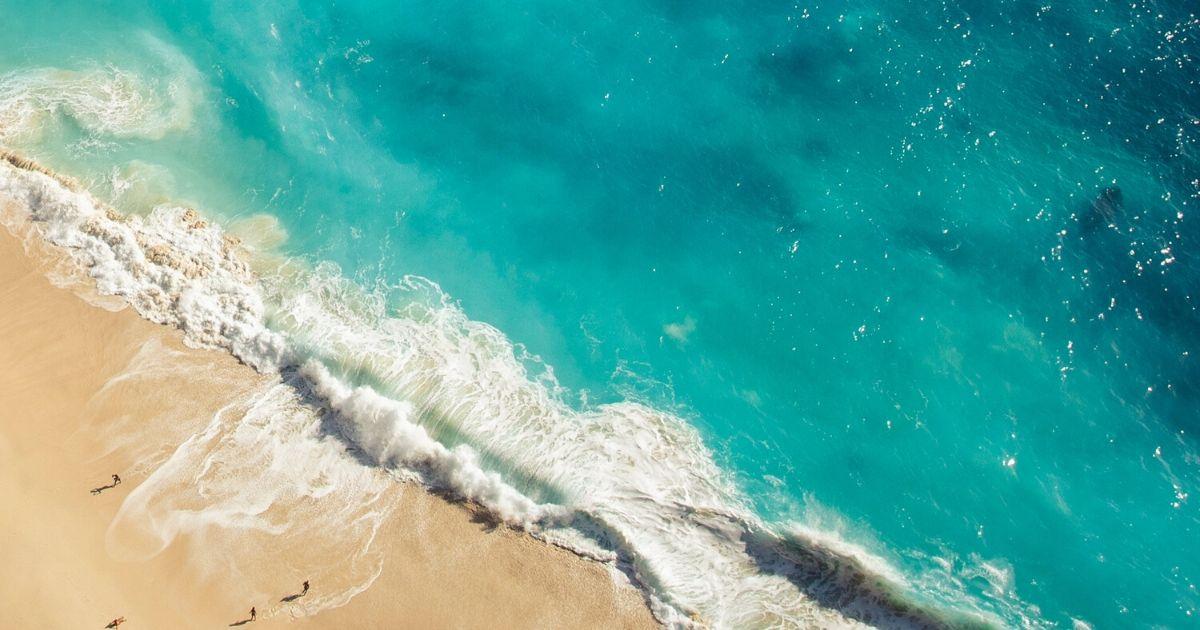
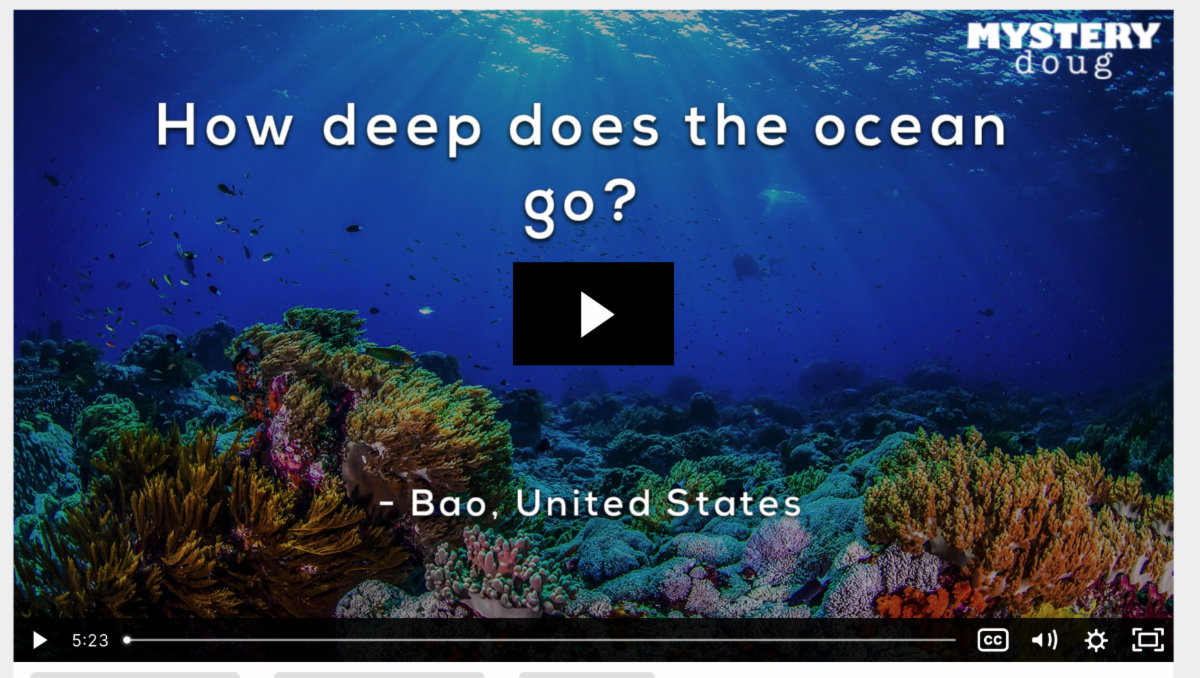
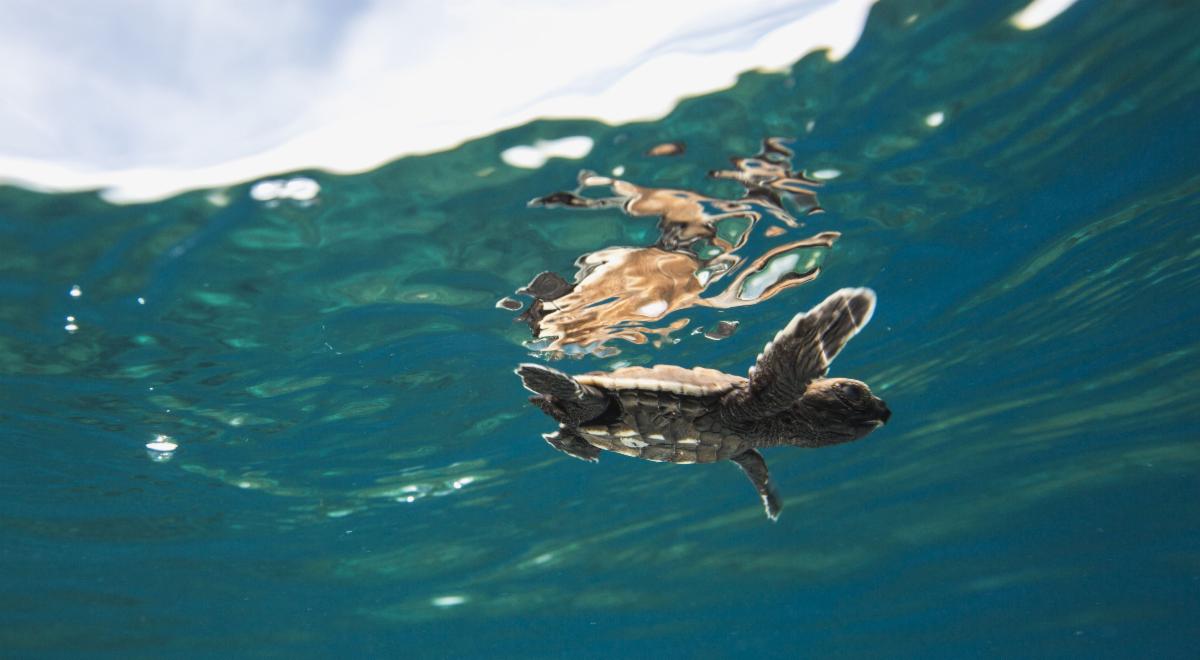
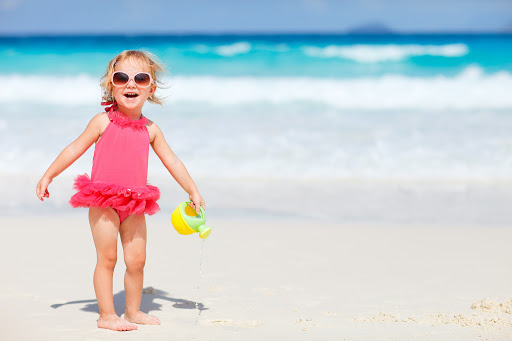
Oceans are areas of salty water that fill enormous basins on the Earth’s surface. Even though Earth has one continuous body of saltwater, scientists and geographers divide it into five different sections. From biggest to smallest, they are the Pacific, the Atlantic, the Indian, the Antarctic (sometimes called the Southern), and the Arctic Oceans.
Oceans are deep as well as wide. On average ocean are a little over two miles deep. But about 200 miles southwest of Guam in the Pacific Ocean, the water in the Mariana Trench is almost seven miles deep. That’s the deepest part of the ocean.
|
|
Art & Creative Expression
|
OCEAN WATERCOLOR SALT PAINTING
Get ready to add this simple ocean craft and STEAM activity to your summer plans. If you want to learn more about combining art and science for STEAM, let’s grab the supplies.
- Color copy paper or markers and crayons
- Glue
- Scissors
- Watercolors
- Watercolor paper
- Paintbrushes
- Salt
HOW TO MAKE AN OCEAN SALT PAINTING
Before starting your salt painting, make sure to protect your work surface. Cover the area with newspaper, tablecloth, or shower curtain for easy cleanup.
1. Coat the watercolor paper in water until it’s damp but not soaked. Watercolor paper is highly recommended for salt painting activities and will yield a nicer finished project!
TIP: Watercolor paper is made to handle all the extra water! Construction paper or copy paper is more likely to tear and rip off during the process.
2. Select your paint colors. Different shades of blue with touches of green and yellow will make for a pretty ocean background. Using a paintbrush add the watercolors to the damp paper until you are happy with the results.
TIP: Draw in details with oil pastels for added texture. Draw waves, seaweed, coral, or even small fish to create a richer textured background.
3. While the paper is still wet, sprinkle pinches of salt across the surface and let the science begin! Read more below.
TIP: Spread the salt so you don’t have little piles of salt left on the paper.
4. Allow your ocean salt painting to dry completely. You can even make your own additions of seaweed or fish!
|
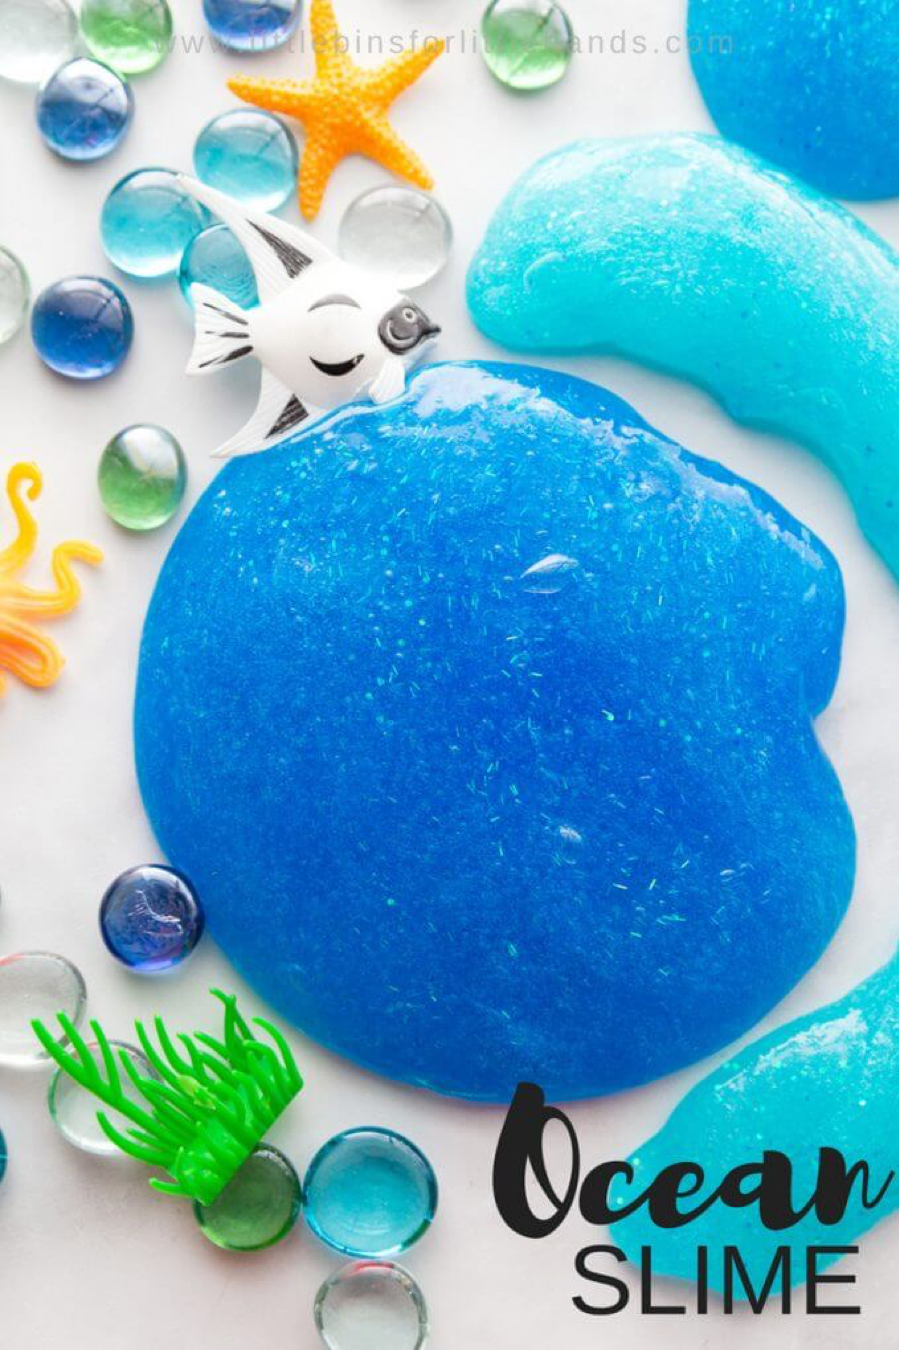
Our homemade ocean slime recipe is a real favorite, with the shimmer and color of the ocean. Plus, making ocean slime is also an awesome chemistry lesson for kids!
Another awesome
homemade slime recipe
, this sand slime can be made with actual beach sand or craft sand! This is a fun hands-on science activity for an under the sea preschool theme.
This is the best fluffy slime ever for ocean science with kids! Our easy to make fluffy slime recipe is so quick and simple, you will be whipping up mounds of the lightest, puffiest slime you have ever seen. Decorate with shells and gems or small plastic sea creatures!
|
|
Writing and Literacy Readiness
|
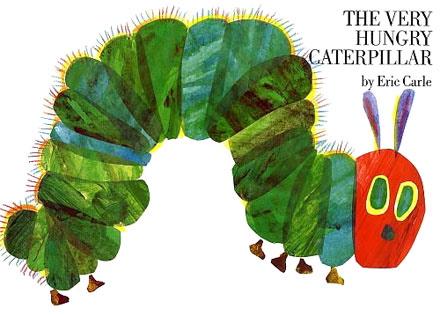
The Very Hungry Caterpillar
The story of the life cycle of a butterfly, told from the perspective of a hungry, growing caterpillar. Charming illustrations capture how the caterpillar eats and eats, builds a cocoon, and them emerges as a beautiful butterfly.
|
Eric Carle Counting Activity
This printable counting activity and coloring page can accompany any book by author Eric Carle.
|
The Very Hungry Caterpillar: Matching Games
Matching games, fill in the blank, mazes, and math activities to accompany The Very Hungry Caterpillar by Eric Carle.
|
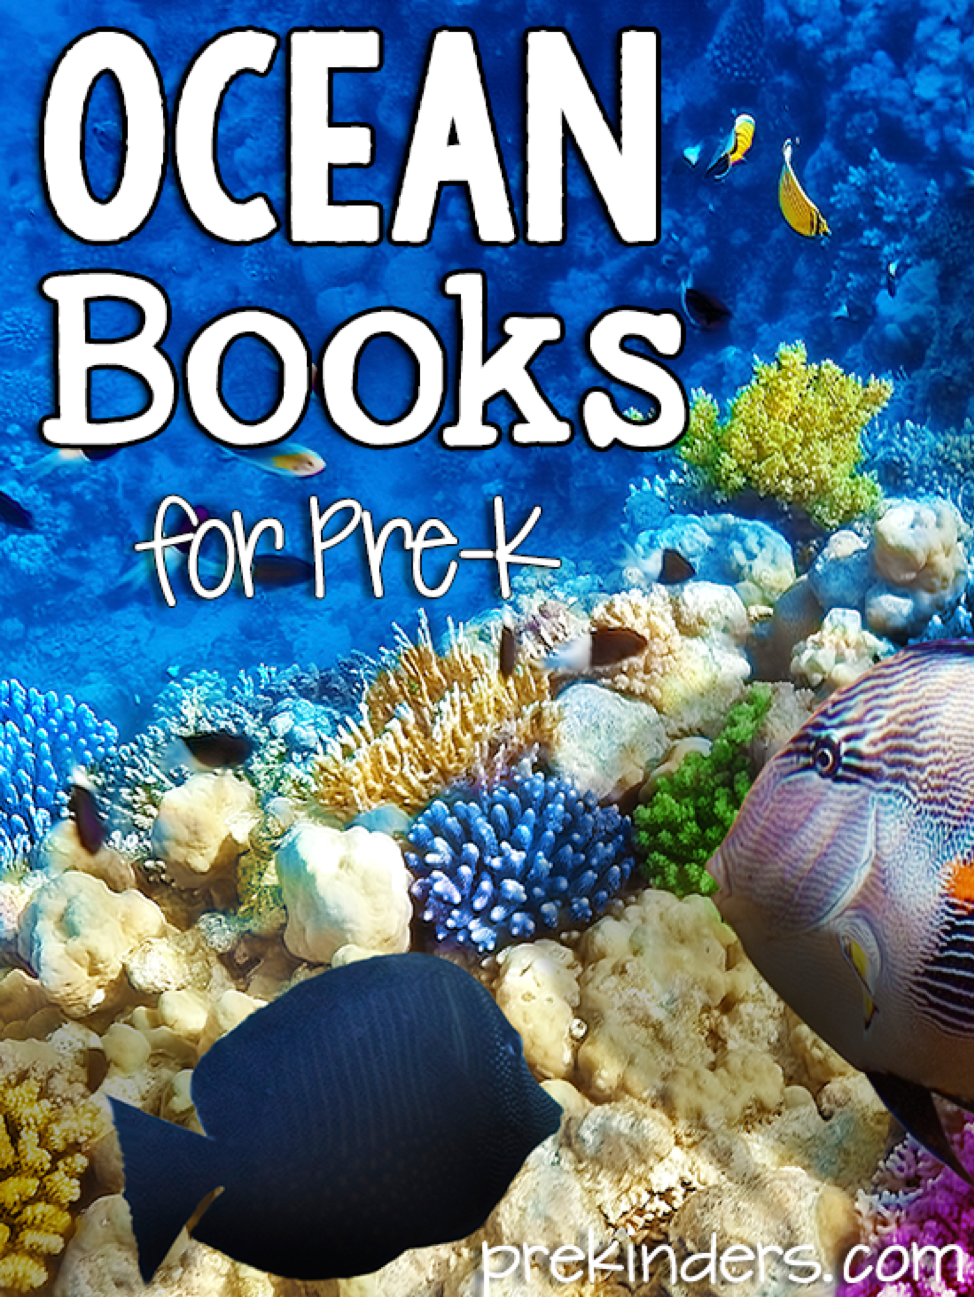
Ocean Books to read with your child!
|
|
Mathematical
& Scientific Concepts
|
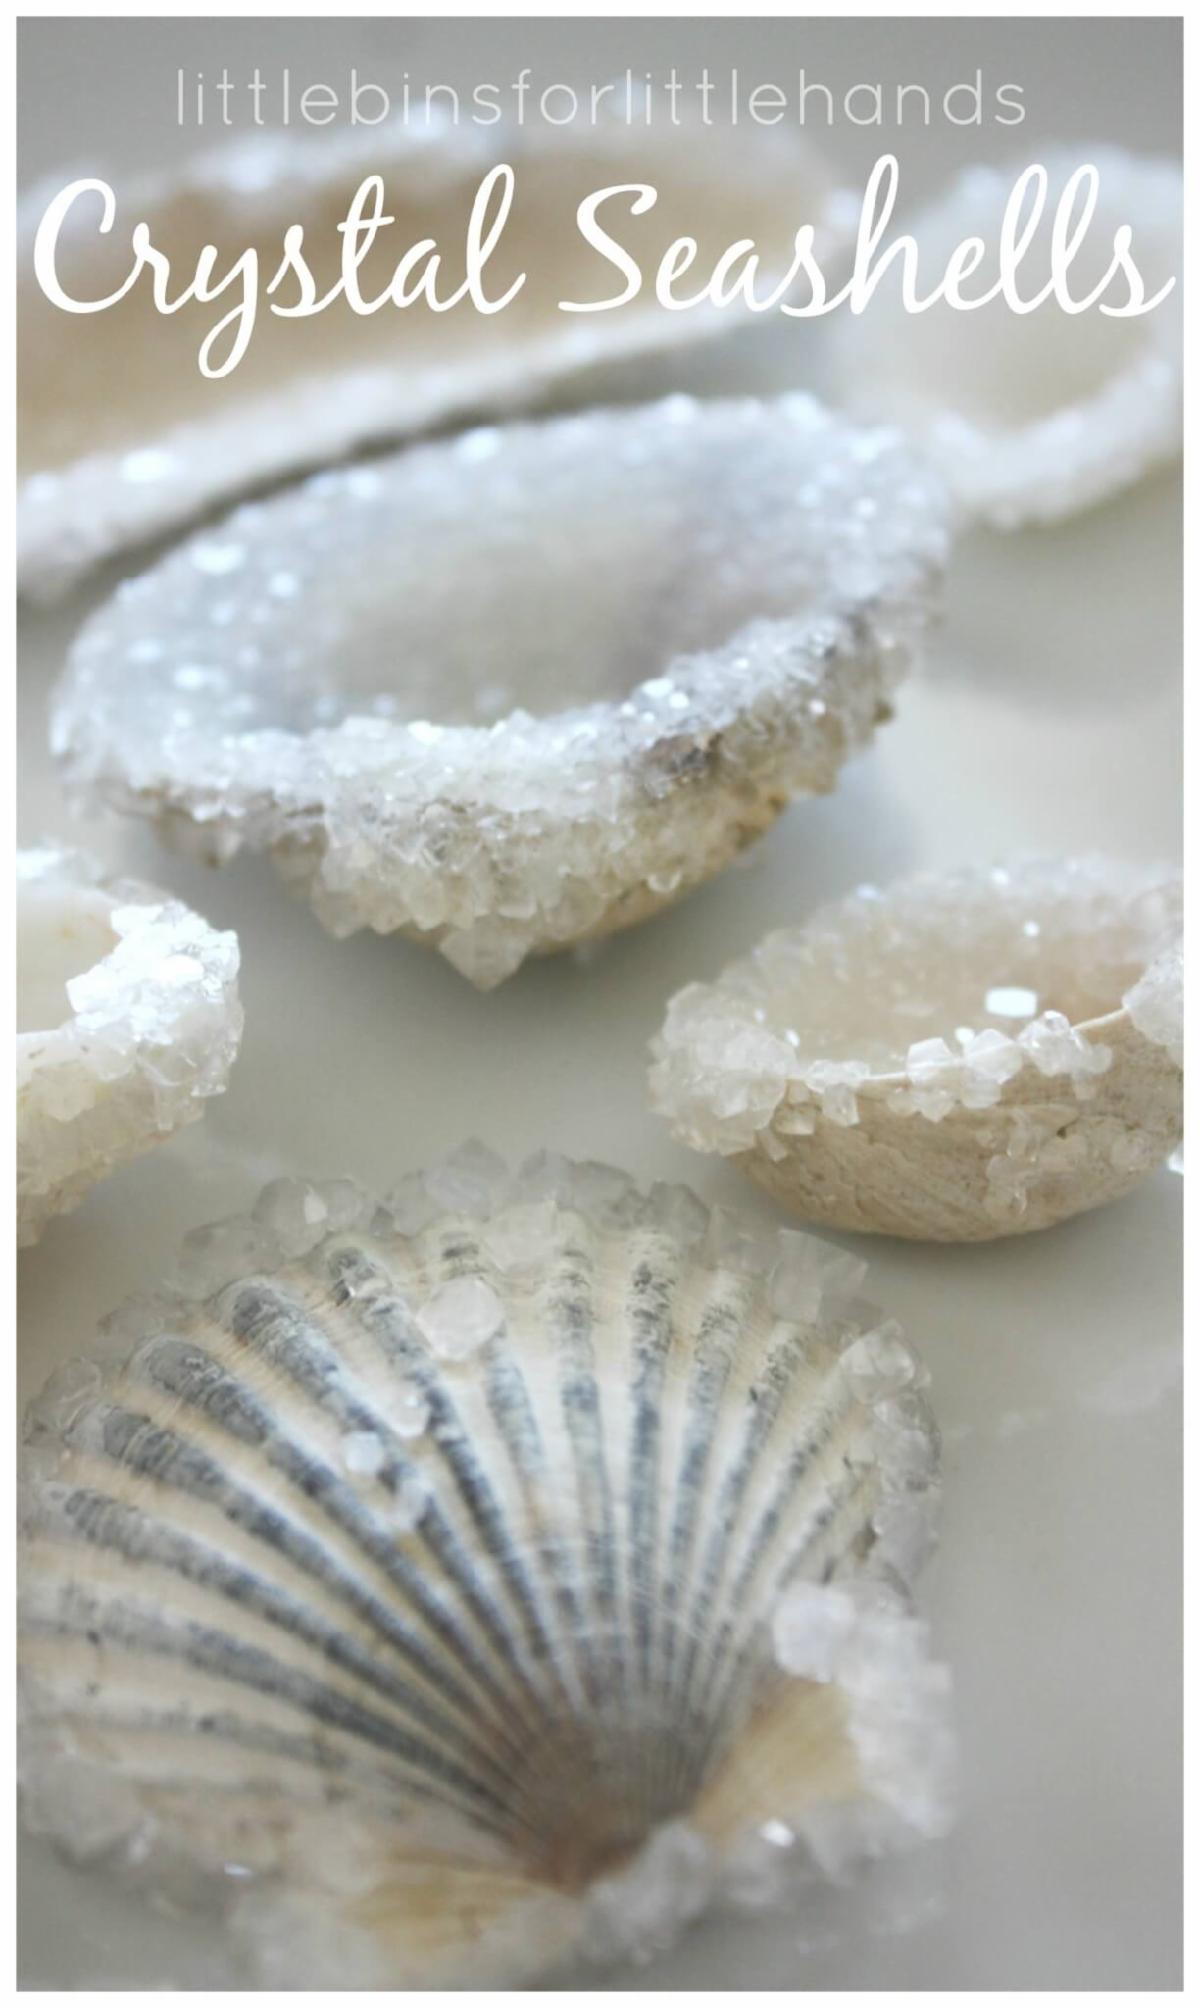
Crystal Seashells
Growing borax crystals on seashells only require two ingredients, water, and powdered borax {found in laundry detergent aisle}. You will need a handful of shells and a flat container. The seashells should not touch each other.
Check out the bottom of this page for alternative ways to grow crystals with kids!
YOU WILL NEED:
- Borax Powder {found in laundry detergent aisle}
- Water
- Measuring Cups and Tablespoon
- Spoon
- Mason Jars or Glass Containers
- Seashells
MAKING A SATURATED SOLUTION
The most important part of growing these fun crystal seashells is mixing up a saturated solution. The saturated solution will allow the crystals to form slowly and correctly. A saturated solution is a liquid that is filled with particles until it can no longer hold any more of the solid.
We need to get our water hot first in order to make the best saturated solution. As the water heats up the molecules move away from each other allowing the solution to hold more of the borax powder.
- STEP 1: Boil Water
- STEP 2: Add 3-4 Tablespoons of borax powder per 1 cup of water.I would make a 3 cup solution to get started if you are going to do several seashells. When you are mixing the solution, you will still see a tiny bit of the powder floating around and settling to the bottom. That means it’s saturated!
- STEP 3: Place your seashells in glass containers {glass prevents the solution from cooling down to quickly}
- STEP 4: Add the solution to the glass containers and make sure to completely cover the shells.
- STEP 5: Put it aside and observe what happens!
|
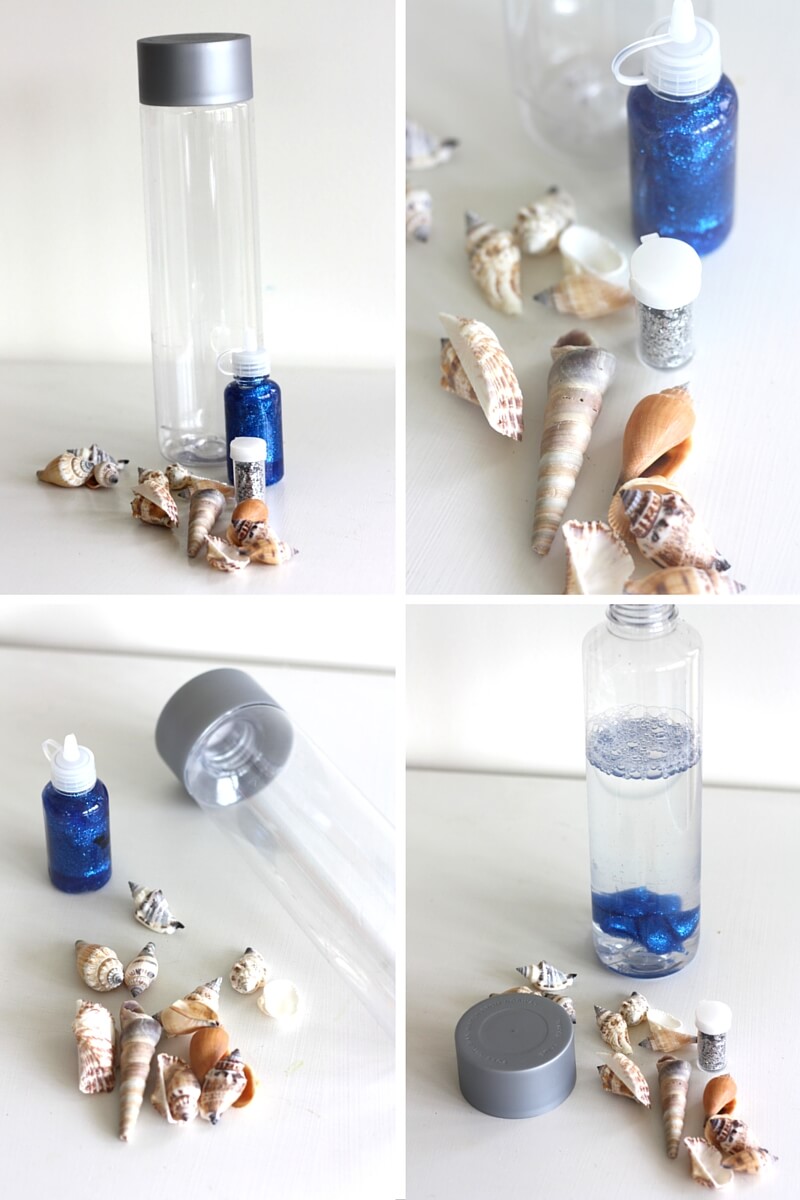
Ocean Sensory Bottle
YOU WILL NEED:
- VOSS Water Bottles {you can use others but these are our favorites and can be reused easily}
- Blue Glitter Glue
- Silver Glitter
- Craft Shells {or shells from a local beach!}
- Water
- Green Food Coloring {optional}
HOW TO MAKE AN OCEAN IN A BOTTLE
STEP 1: Remove any labels that may be there on your bottle. Usually they are pretty easy to peel off and rubbing alcohol will remove any leftover residue.
STEP 2: Start with your bottle half full with water.
STEP 3: Squeeze glue into the water, add glitter, cap the bottle, and shake well! It may take a few minutes for the glue to thoroughly mix and it may appear clumpy for a bit, but it will then become smooth.
STEP 4: Uncap your ocean sensory bottle and add the seashells. Then add more water until the water level reaches the top and re-cap your ocean in a bottle.
Shake and enjoy your new ocean sensory bottle!
|
|
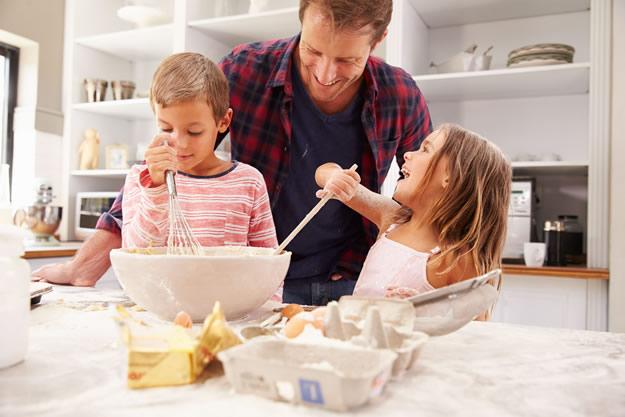
Teaching Your Children Life Skills
During this unprecedented time of at-home learning, there are many things you may not realize you are teaching your children, just as critical as mathematics, reading and writing. It is time to expand our notion of learning. Genuine learning should go beyond core educational topics.
While you may not be an expert on algebra or physics, you still have skills to teach your children. Think about how your own passions or hobbies could be taught to your children by including them in what you are already doing.
For instance, a parent who needs to change the oil and check the tire air pressure in their car, could easily include their children in these activities. Not only will they likely have fun, they will be gaining valuable knowledge and skills. In fact, if the children are old enough, they may be able to take over this task on a regular basis. Your children may also find they have a passion for working on cars and want to expand their skills by helping with other vehicle repairs.
If a parent has a passion for gardening, inviting the children to help you weed the beds, plant the seeds, water and then pick the fresh produce and flowers is again, lots of fun (particularly if you get dirty and wet) and very educational. Including your children in the design and layout of the planting beds along with what will be planted can be empowering to children. You may find they will actually eat the vegetables they helped to plant!
Parents will find this type of quality time spent with their children helps them develop a closer relationship and bond. Any time spent with your child that doesn’t include the daily rushing to school, getting to sports practice and hurrying through dinner is time well spent.
Many parents are teaching their children to sew, cook, fold the laundry, wash dishes and even make their own beds. These are lessons that should continue even when the pandemic is over. Children who learn these tasks early and incorporate them into their daily lives will be better prepared for the future.
If your children are resistant to learning about your interests, figure out what your child’s own interests are and use them as a jumping-off point for teaching them life skills. Studies show that people with a sense of purpose are the most likely to thrive, especially when times are tough.
If your child likes to play video games, be assured they are learning valuable skills that can help in their future profession. Your child is learning to pay attention, think flexibly and developing problem-solving strategies. The trick is to support your child’s interests, even if they don’t interest you. So, if your child loves video games, play with them. If they are interested in knights and superheroes, read books on the subject. You can even draw them on construction paper or with chalk on the sidewalk. You can also talk to your child about what it means to be a hero.
The groundbreaking book,
Mind in the Making
, by Ellen Galinsky describes the seven skills necessary for success in all aspects of life, including school, relationships and work. Children can learn these skills beginning in early childhood. Galinsky believes the most important life skills for children to learn are:
- Focus and Self-Control
- Perspective-Taking
- Communication
- Making Connections
- Critical Thinking
- Taking on Challenges
- Self-Directed, Engaged Learning
All of these life skills can be developed through intentional daily activities.
Other essential life skills to teach your children so they are better equipped for the real world are:
- The importance of Health and Basic First-aid
- Responsibility and Daily Living Skills
- Time Management
- Decision-Making Skills
- Managing Money and Basic Budgeting
- How to Shop
- How to Cook
- How to do Laundry
- The Importance of Environmental Preservation
- Finishing Tasks Independently
- Basic Etiquette and How to Order at Restaurants
- How to Use Maps
- Basics of Travel
- Looking at Situations from Other’s Perspectives
- Resilience and Adaptability
If families are able to use this chance to engage their children in learning, it is a gift that will last a lifetime. This time you spend helping your children learn life skills will always be remembered. Time for forever memories!
|
|
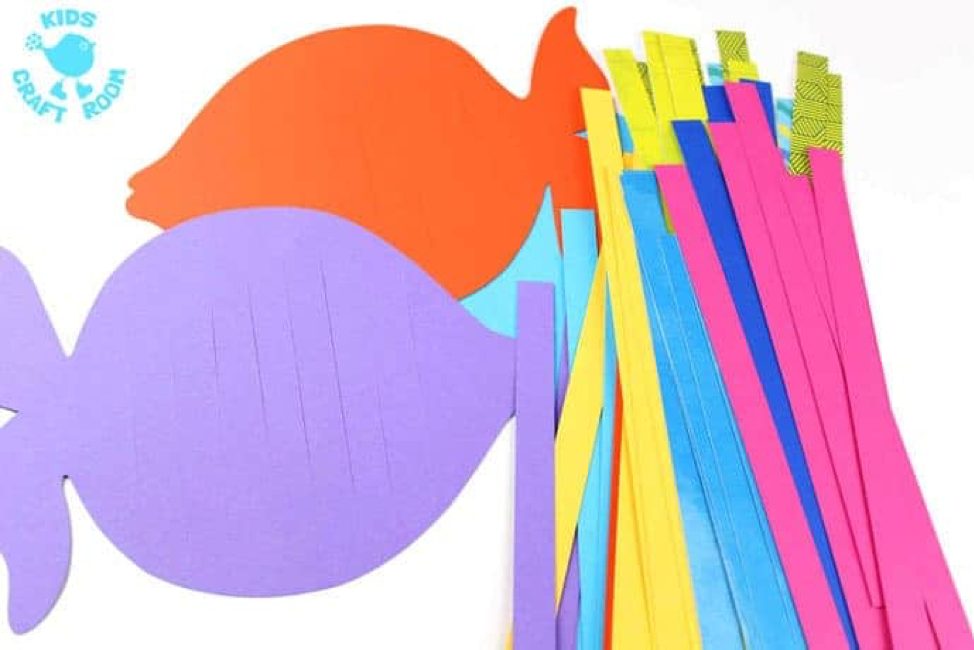
Paper Fish
o Printable Fish Template
o Craft stock
o Glue
o Scissors
o Black Marker
o Cupcake Liners
o Optional: Paper Cutter
How To Make Paper Weaving Fish
1 – Print out your fish template or draw your own.
2 – Cut the fins off the template and draw around the fish body onto colored cardstock.
3 – Lightly fold the fish in half and snip straight lines from the fold towards the edge of the fish. Be careful not to cut right to the edge though. (Leave about an inch.)
4 – Use a paper cutter or scissors to cut strips of your colored craft card stock for weaving.
5 – Weave the paper strips under and over the cut lines you made in the fish. When you are finished and the fish is full trim off any excess and glue the ends down.
6 – Cut the fish eye from your template and glue it on.
7 – To make fins for your woven fish draw around the fin template onto cupcake liners and cut them out. Their corrugated sides are just perfect for fins!
8 – Finish off your paper weaving fish craft by gluing on the fins and drawing on some eyes and detail to the tail.
|
Ocean Animal Movement Game
Materials Needed: ocean animal action cards pdf file, colored cardstock, and tape.
Directions:
1. Print out the ocean animal action cards on colored cardstock. You can also have your child color them!
2. Tape the cards on the floor. Try to spread them around the room so that you have space between each card for movement.
3. Start the movement activities!! There are several variations you can try depending on the level of your child.
- Start by walking around (or running) to each card with your child. When you get to a card, point to the picture, say the name of the ocean animal, read the action statement, and then demonstrate how your child can do the action stated. Have them copy you and then move to the next card.
- After you have found all the ocean animal names and actions, you can say, "Find the animal that...
and state an action
(ex. sings under the water)"
- You can also work on letter recognition by using statements like, "Find the animal that starts with the letter..." For older children this is a great activity as you talk about initial sounds of words. You could have your children tell you the letter at the beginning of the word and the sound that it makes.
- For older children who can already read or who are learning to read, you can have them try and find the action words in the sentences. For example, "Find the card that tells you to...
jump
." They can go to the dolphin card, read the name of the ocean animal, do the action, and attempt to read the sentence about the animal.
This activity provides for a lot of opportunity for variation, which keeps it interesting. It also works on a broad range of skills- from color recognition to listening comprehension to letter and word identification, etc.
|
|
Cognitive & Phonological Development
|
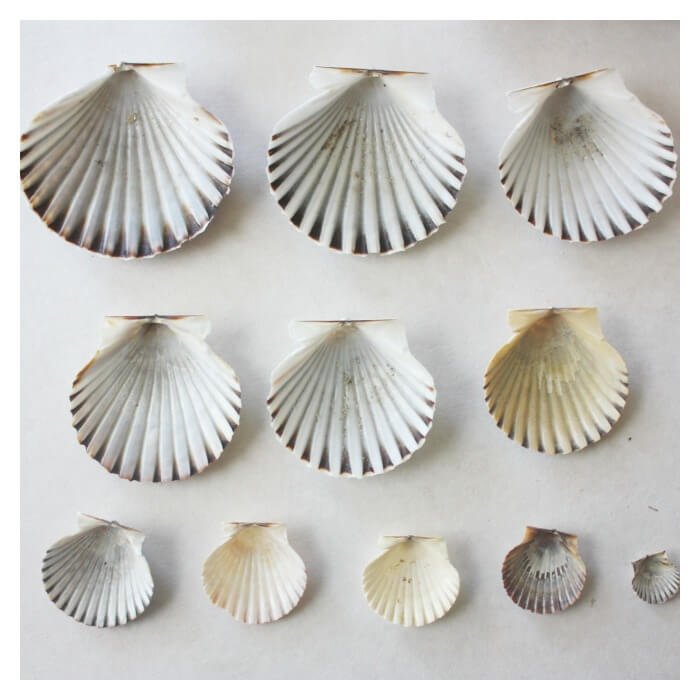
Shell Counting, Sorting and Math
Measure, sort, and classify all different kinds of seashells. Explore math concepts of pattern and size for this hands-on under the sea math lesson for preschoolers.
Collecting seashells at the beach it a fun activity! How about adding them to your next math lesson with this measuring seashells math activity invitation!
The beach is a wonderful place full of learning opportunities. A sensory filled environment, the ocean is an amazing resource for hands on learning activities.
- Measure the shells
- Sort by size or color
- Sort by size or shape
- Stack the shells
- Complete basic addition or subtraction using the shells
|
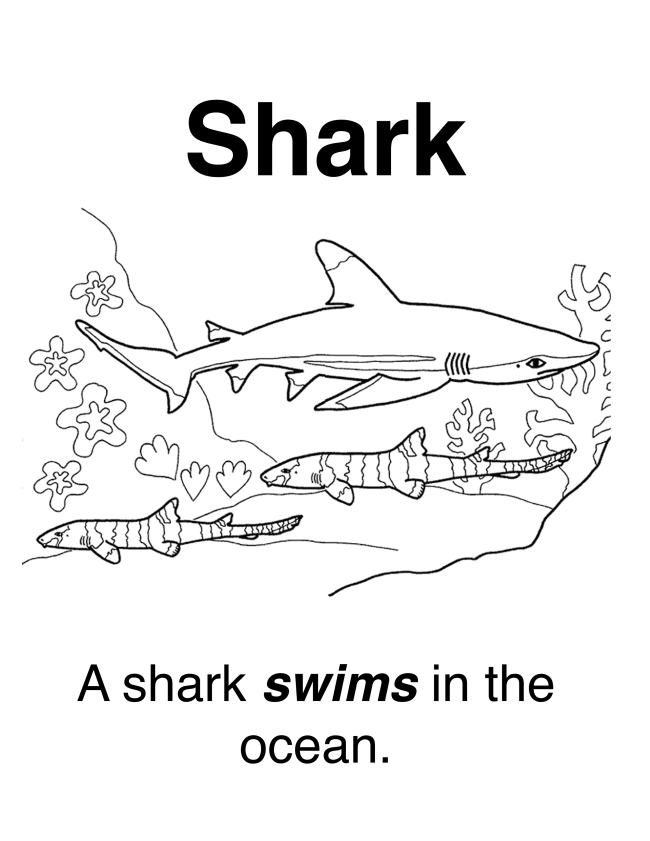
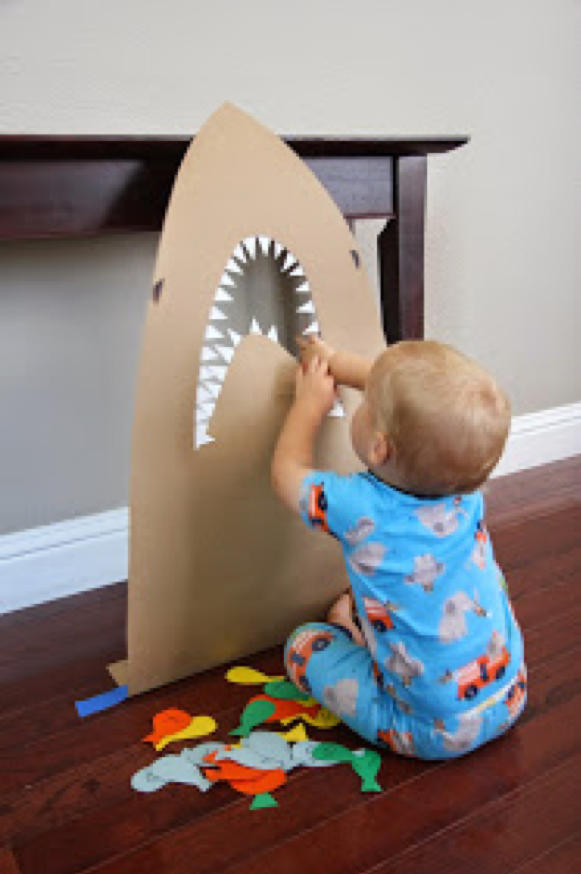
Feed the Shark
Materials Needed:
- large piece of cardboard
- scissors
- white cardstock cut into shark teeth shapes
- tape
- colored cardstock (cut into fish shapes)
- marker
Directions:
- To get started you'll need to cut a shark head out of your piece of cardboard and then cut a mouth out of the center.
- Next tape some shark teeth around the whole mouth.
- Turn the shark over and then use painters tape to secure it in place up against a table, box, or anywhere else that will allow the shark to stand up and still have some space behind it.
- Next you'll need to cut out some fish shapes from cardstock and then add numbers, letters, or sight words on each fish.
- You can write alphabet letters for preschool children or sight words for older children, and you can leave some blank for to work on color words!
- Encourage the children to feed the shark speific letters, or colors to improve their cognitive development skills!
|
|
Emotional & Social Development
|
7 Social-Emotional Activities for Children
Social-emotional development is the process of learning skills that we need in order to make and maintain relationships, feel good about ourselves and function within society.
These skills include communication, cooperation, recognizing and managing emotions, and controlling behavior.
A child’s social and emotional skills are an important aspect of their development.
Here are some simple but fun activities you can do with young children to build these skills.
1. Ball Games
Ball games are a relatively simple way for younger children to build relationships. Cooperatively rolling a ball back and forth is a rudimentary way of initiating play and turn-taking. For older children, they can play in a larger group and say each other’s names before rolling the ball, practicing initiating play verbally.
2. Dramatic play
Dramatic play is a great way for children to experiment with social behavior, rules and expectations. Children often enjoy acting out what they know, such as cooking and eating dinner together.
Dramatic play is a safe space for children to develop social skills, though to begin with they may need guiding through the narrative. After a while though children will begin to develop imaginative scenarios that allow them to work on their social-emotional skills through play.
3. Stories
Reading additional social-emotional benefits.
Reading a story with emotional content, and discussing it with your child gives them the opportunity to develop empathy, as well as tools to use in their own experiences of emotions. You might ask; “Why did the character get angry? What makes you get angry?”
4. Puppets
Similar to stories and dramatic play, using puppets to act out social situations and emotions is a good way to develop children’s recognition and understanding of emotions as well as explore ways for managing social scenarios and feelings.
5. Listening games
An important part of social-emotional development is the ability to recognize, understand and respond to appropriate boundaries and expectations.
Helping your child to listen carefully to instructions and change their behaviour in response to this will improve their social-emotional skills as well as listening, attention and focus.
Games like “Simon Says” and “Red light, Green light” allow children to practice listening carefully, following instructions and changing their behavior in line with expectations.
6. Board games
Board games are an ideal way for children to experience turn-taking, as well as winning and losing and the emotions that are involved in both.
With so many educational games on the market for preschoolers, children can work on a whole host of skills through playing games. Encourage children to follow the rules, take turns, and keep play friendly even when they are frustrated.
|
|
|
|
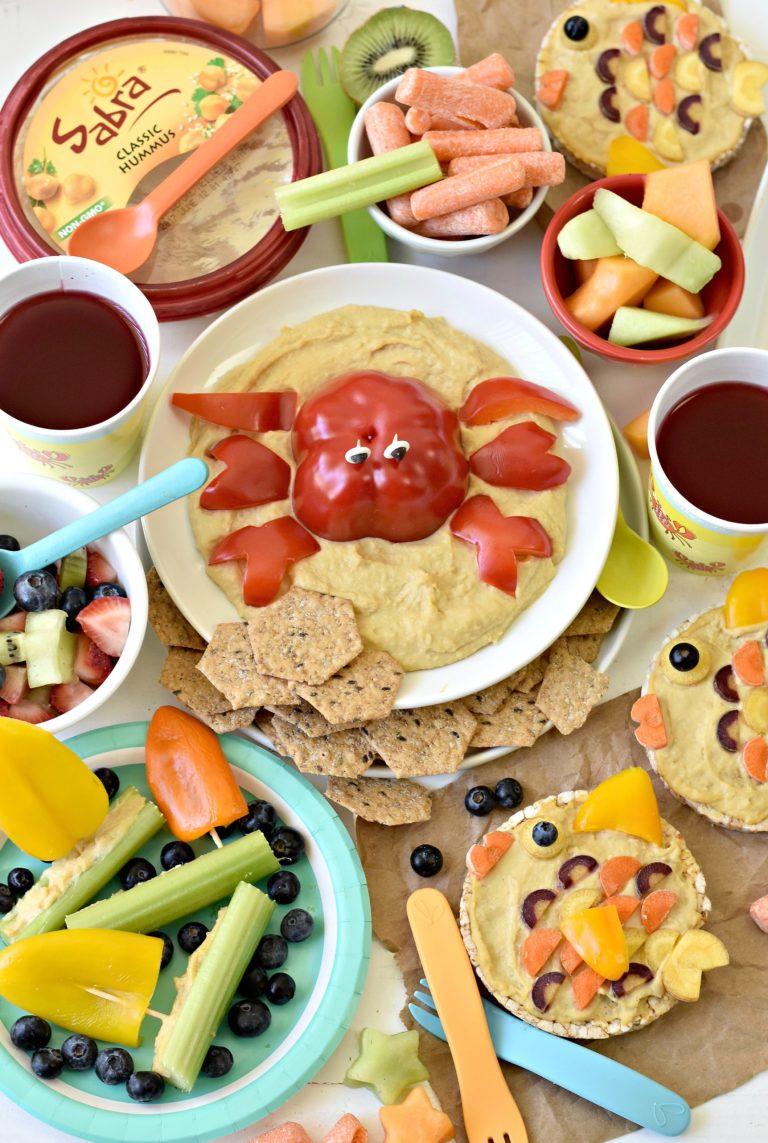
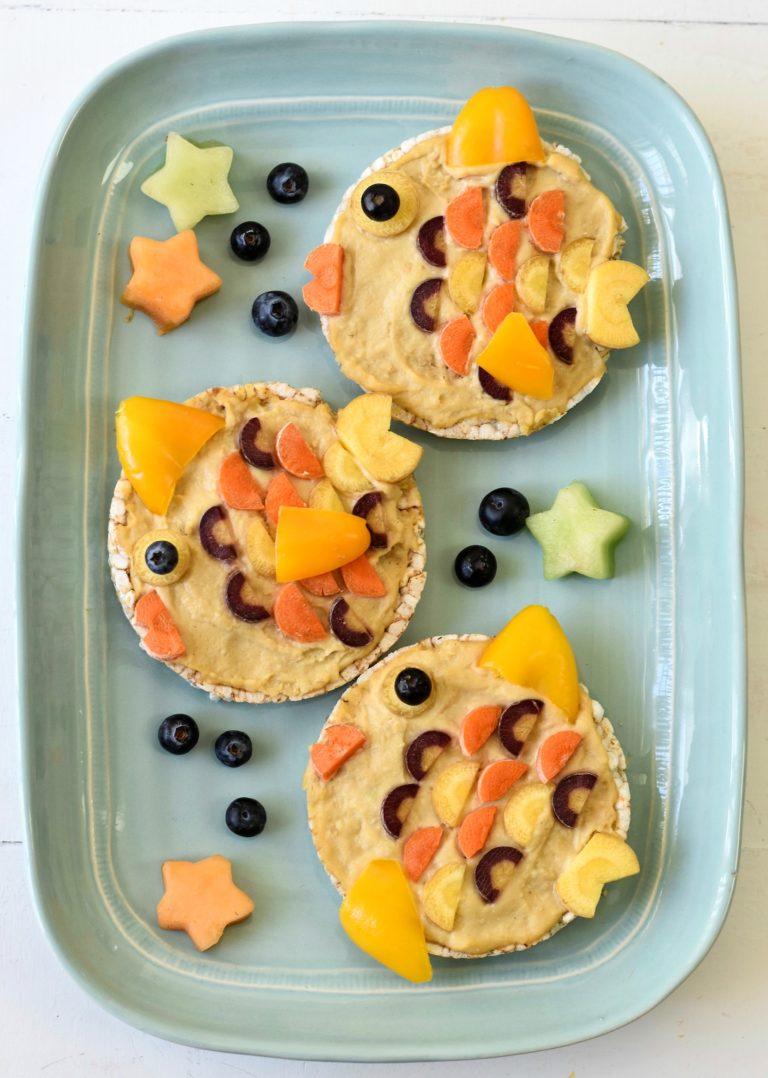
OCEAN THEMED HUMMUS SNACK IDEAS
Fish Rice Cakes:
- 4 rice cakes
- 1/4 c. hummus
- multi-colored carrots, sliced and halved (for the scales)
- 4 mini bell peppers, cut in half (for the fins)
- 8 slices of carrots (for the eyes and tail)
- blueberries (for the eyes)
To assemble each rice cake:
- Slather 1 Tbsp. of hummus over the rice cake.
- Place the sliced carrot halves in place of the scales.
- Create 3 carrot slices: 1 for the fishy lips, 1 for the tail, and the other for the eye.
- Place a blueberry over the carrot eye.
- Slice a mini bell pepper and place for the fins.
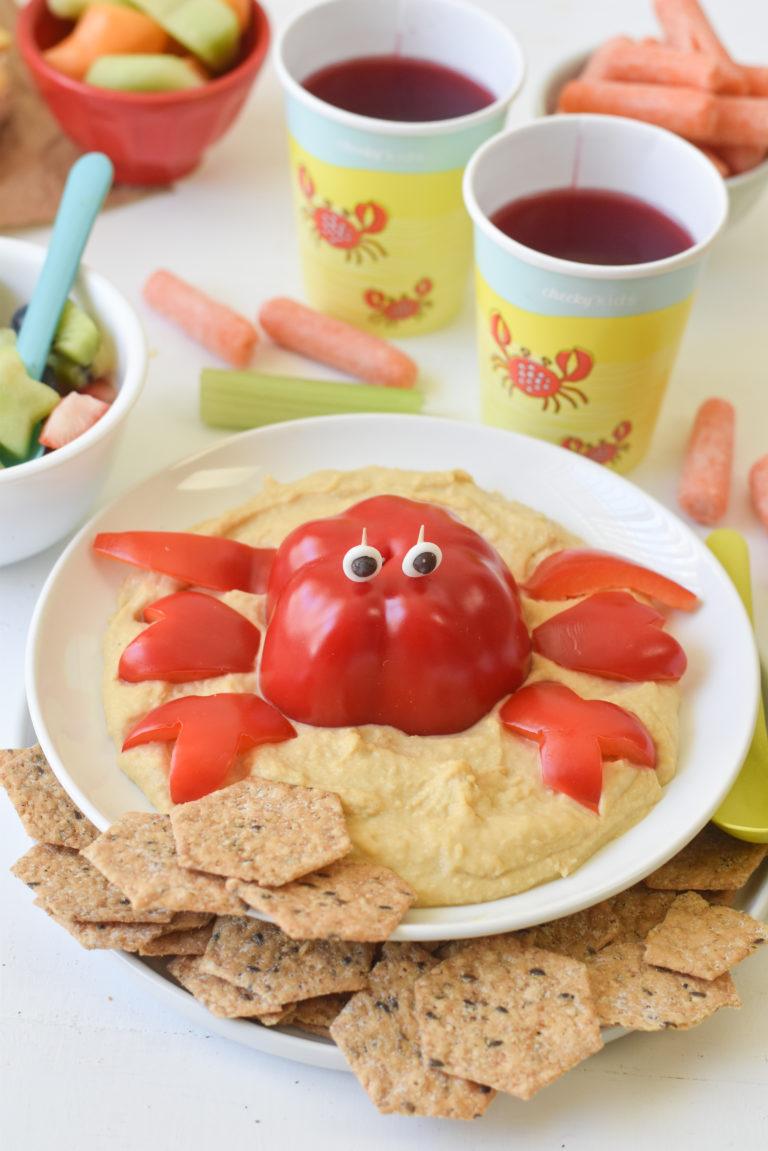
Hummus Crab Dip:
- 1 red bell pepper
- Hummus
- 2 googly eyes
- 2 toothpicks
How to assemble:
- Cut the red bell pepper in half. Use the lower half for the crab head.
- Slice the top half of the pepper into fours. Cut claws out of each of them.
- Place hummus into a bowl. Top with the crab head and claws on each side.
- Place the toothpicks into the top of the bell pepper. Glue the googly eyes onto each toothpick.
- Serve with fresh veggies.
Celery Hummus Boats:
- Celery sticks
- Hummus
- mini bell peppers, cut in half
- toothpicks
How to assemble:
- Slather the hummus into the celery sticks.
- Place a toothpick into each mini bell pepper half for the sailboat mast.
- Stick into the celery so it will stay put.
|
|
|
|
|
|
|